
You will need a non-stretch cotton fabric. Plain cotton bed sheets and pillowcases are ideal. A stretch material can be used if it can be ironed on high heat and if you have the skills to manage sewing it, but sheets/pillowcases are the easiest to sew.
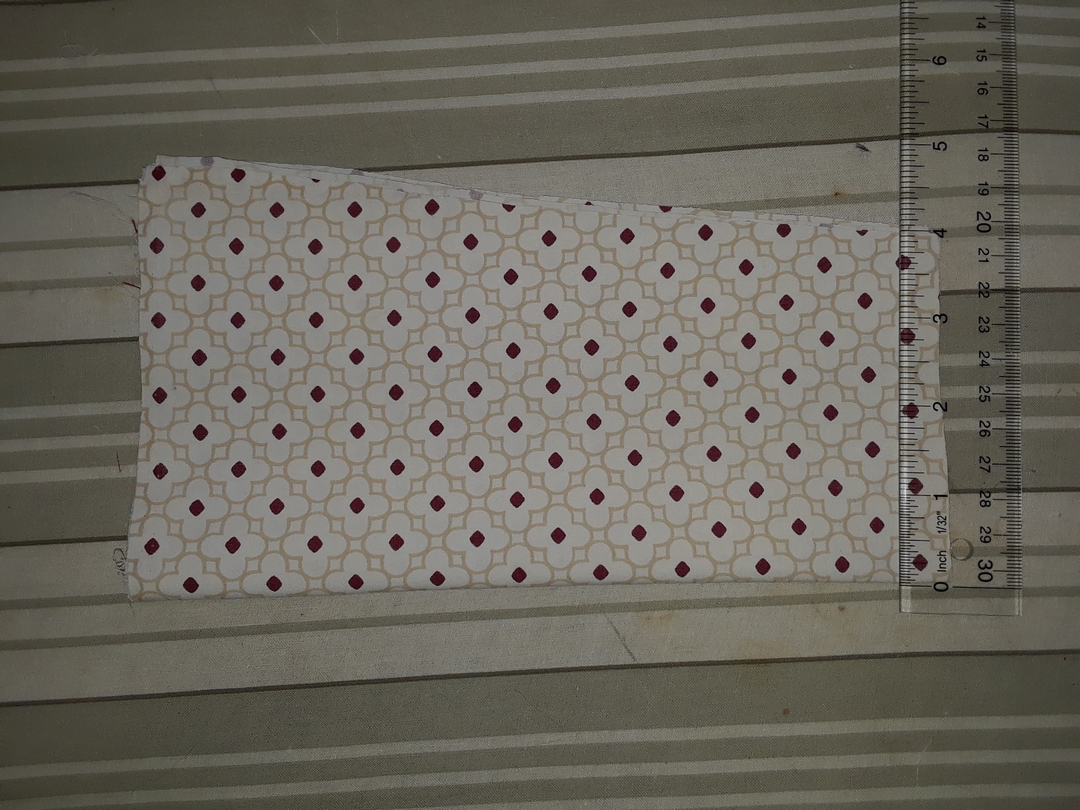
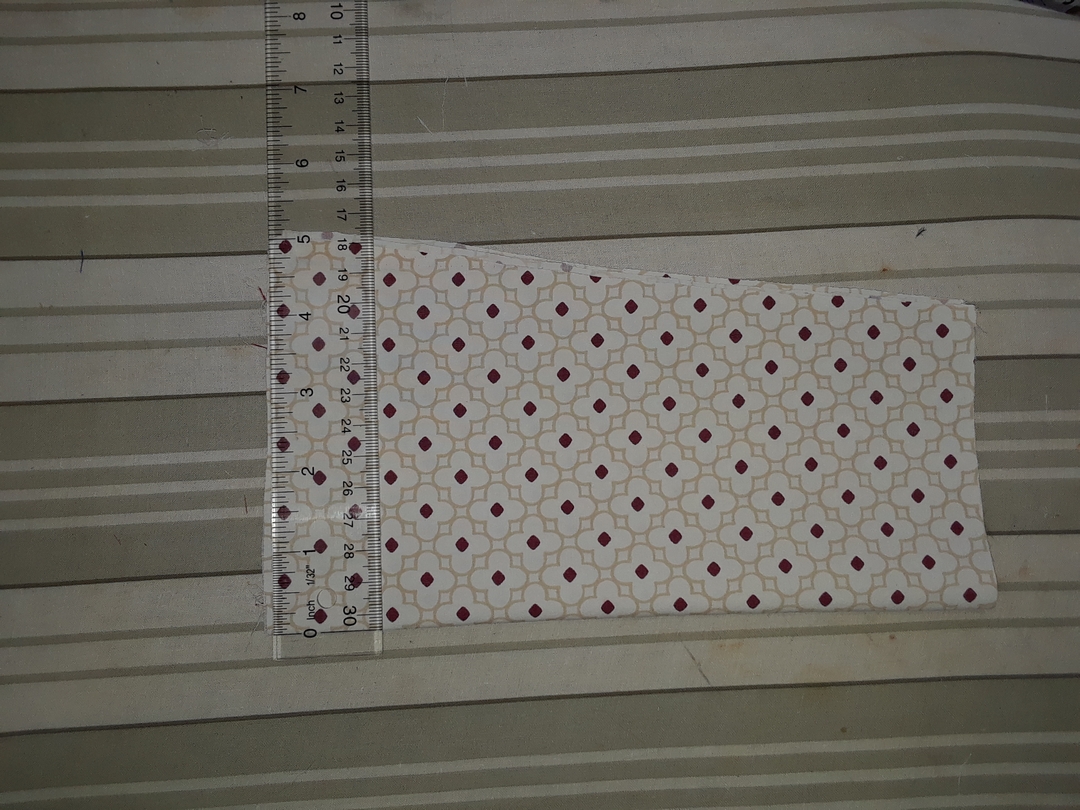
First, cut the center pieces and strips for ties. The sizes for the center pieces are 10"x9" for large adults (tapering to 8" at bottom), 9"x8.5" for small adults/teens (tapering to 7" at bottom, and 8"x8.5" for youth (tapering to 6" at bottom). Large adult center pieces are shown below (this size is generously sized and will work for men with bushy beards).
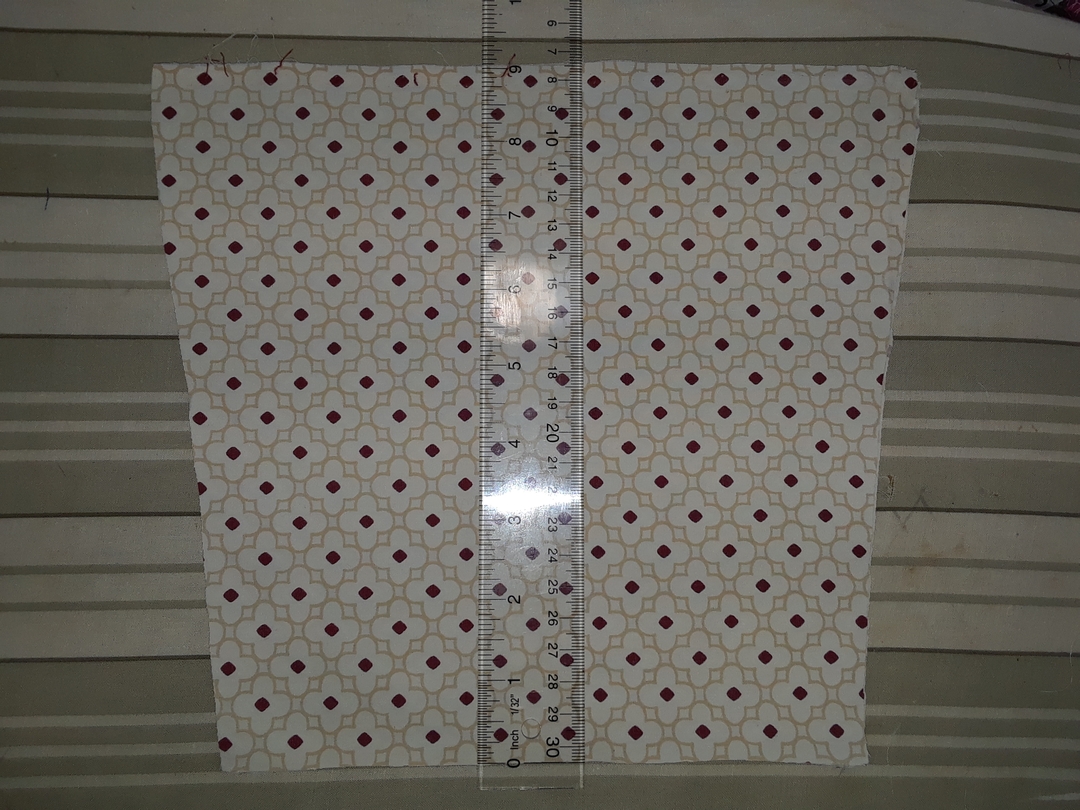
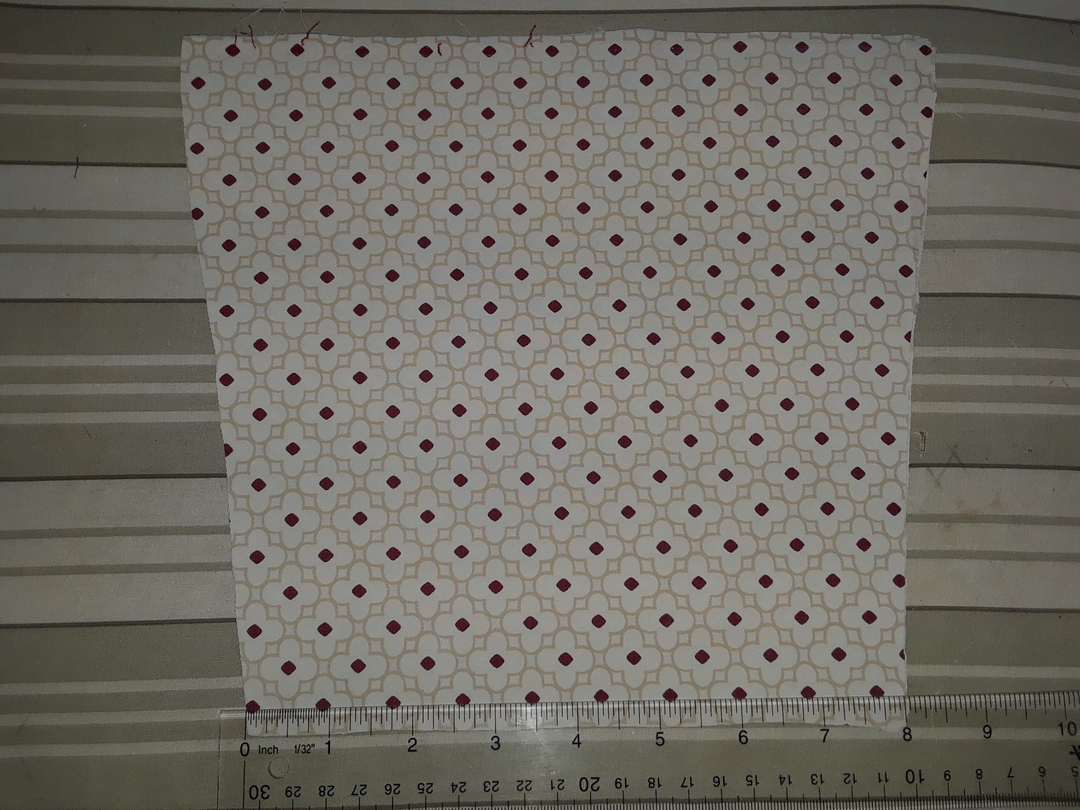
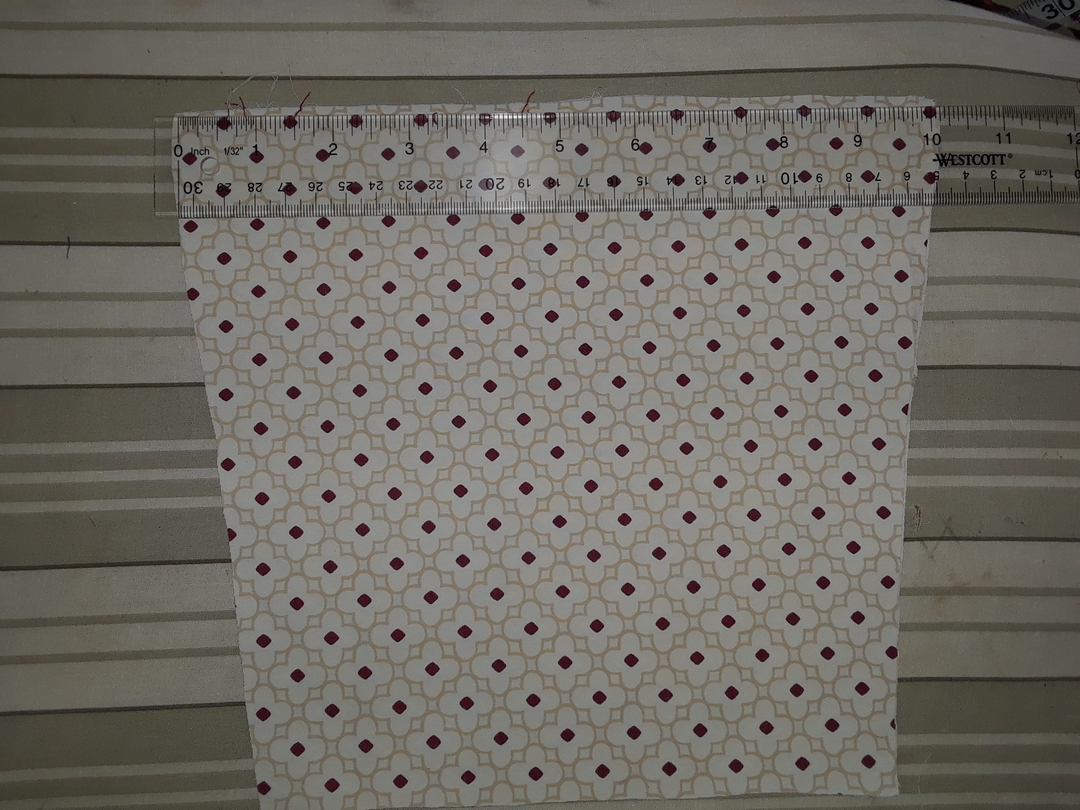
You can cut them on the fold as shown:
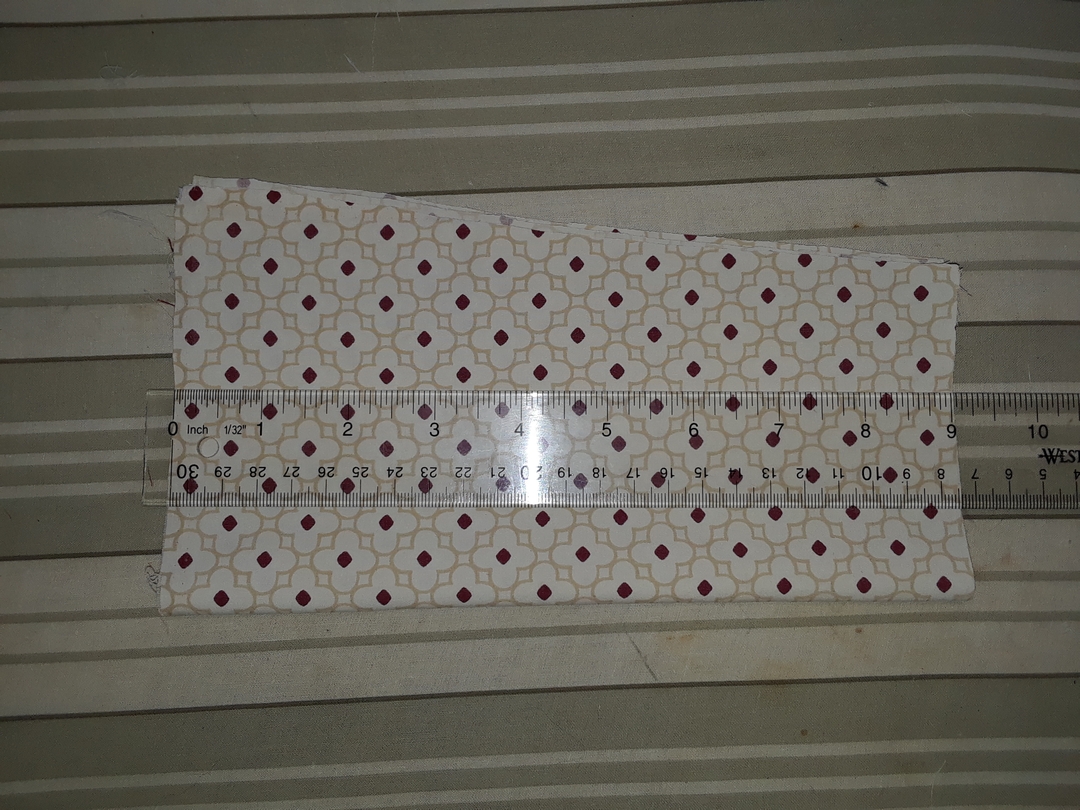
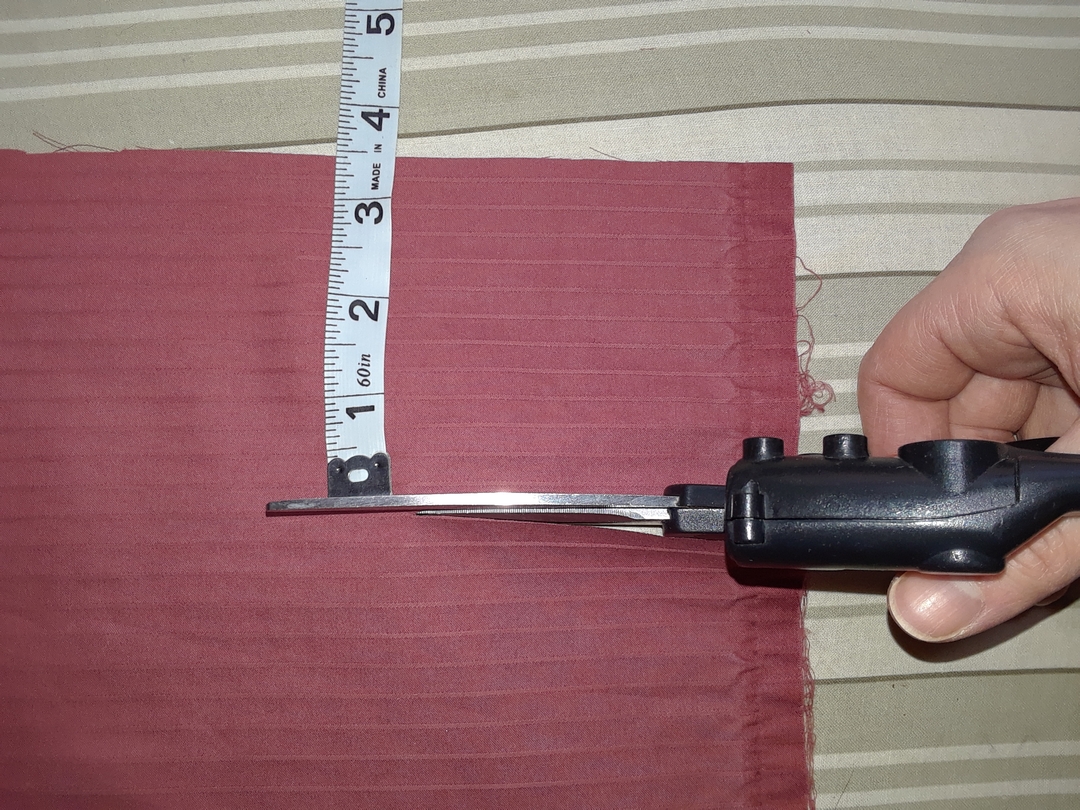
For the tie straps, you can use premade bias tape or make your own. Here's how to make your own: Cut long strips that are about 3.5-4" wide, which, for large masks, need to be about 50" long to tie easily. The small adult/teen mask can get away with about 40-45" long strips, and youth masks just need to be long enough to tie behind the head: 40" to be safe, but a yard might work on small children.
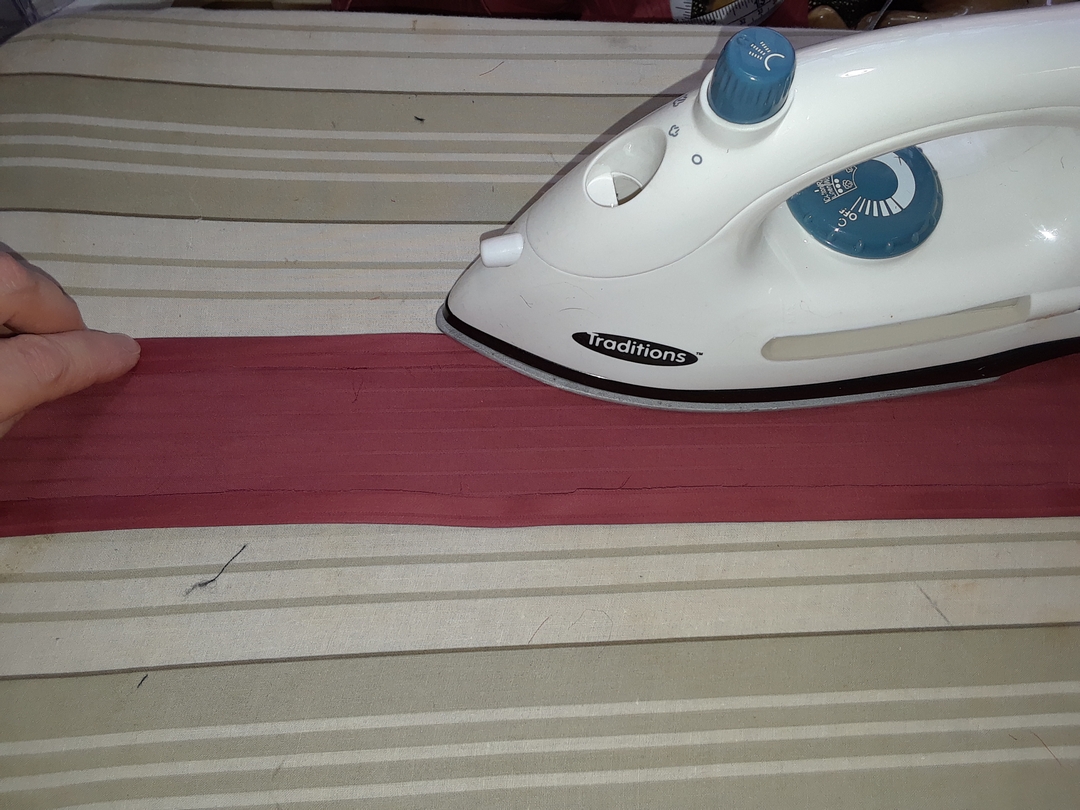
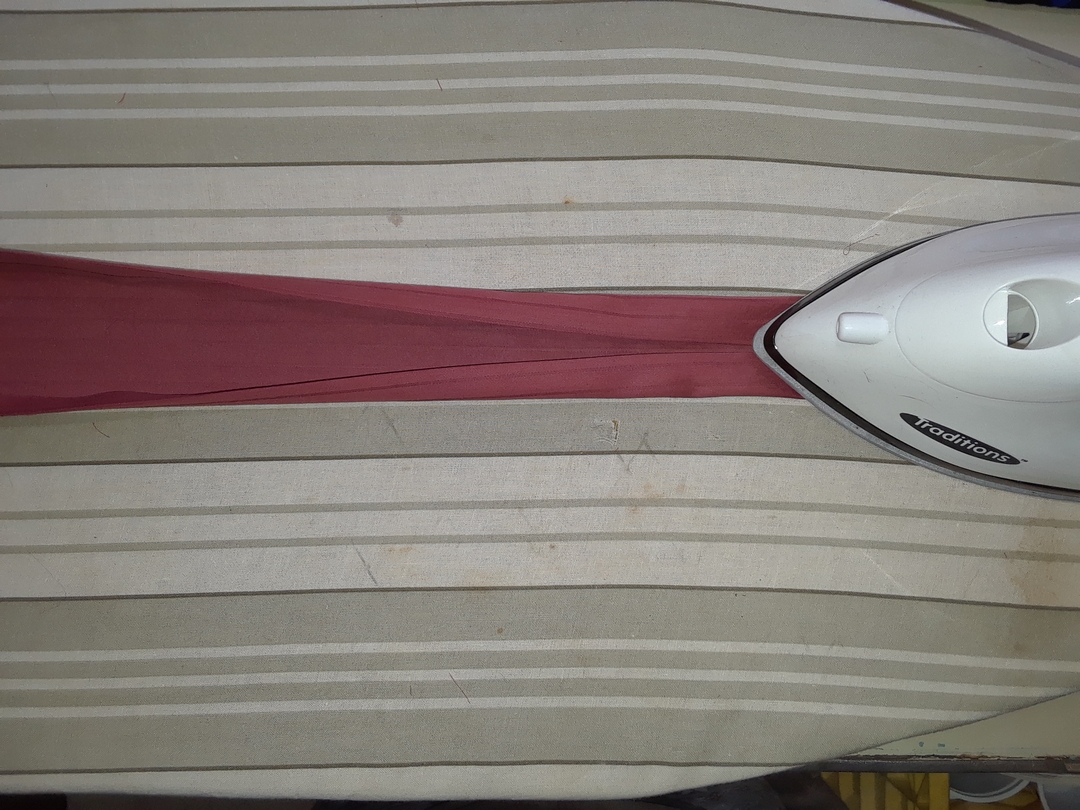
If you are making your own bias tape, press over the edges about 3/8", then fold them over again about 1/2", press again, then fold over and press a final time. For the bottom tie and edges, no hemming is needed. For the top tie, you need to hem one side of the first fold, as shown.
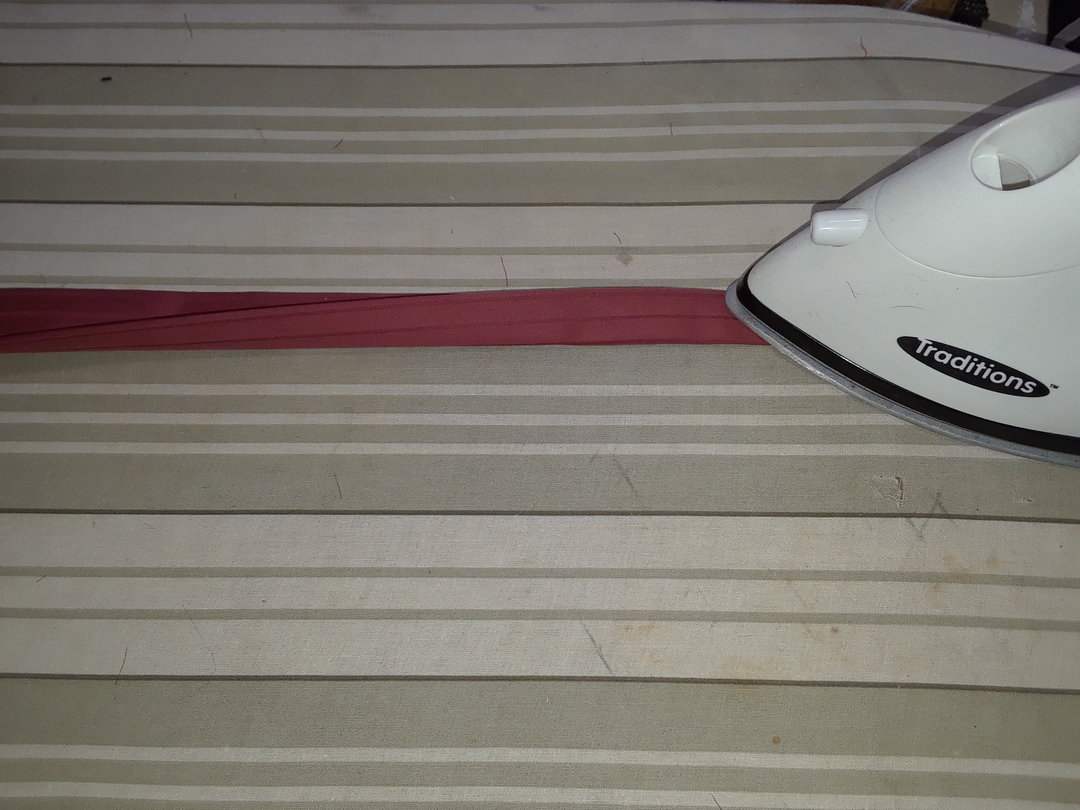
Bottom tie and side binding (no hem needed, just fold and press):
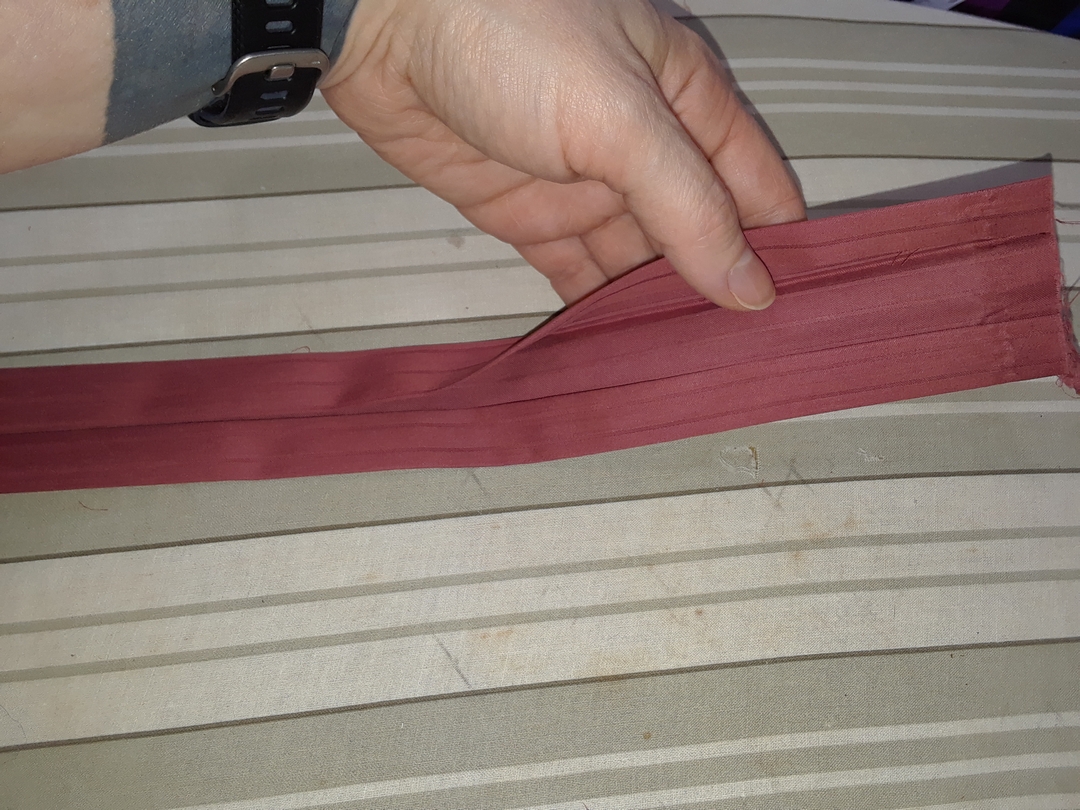
Top tie needs one of the first folds hemmed, as shown.
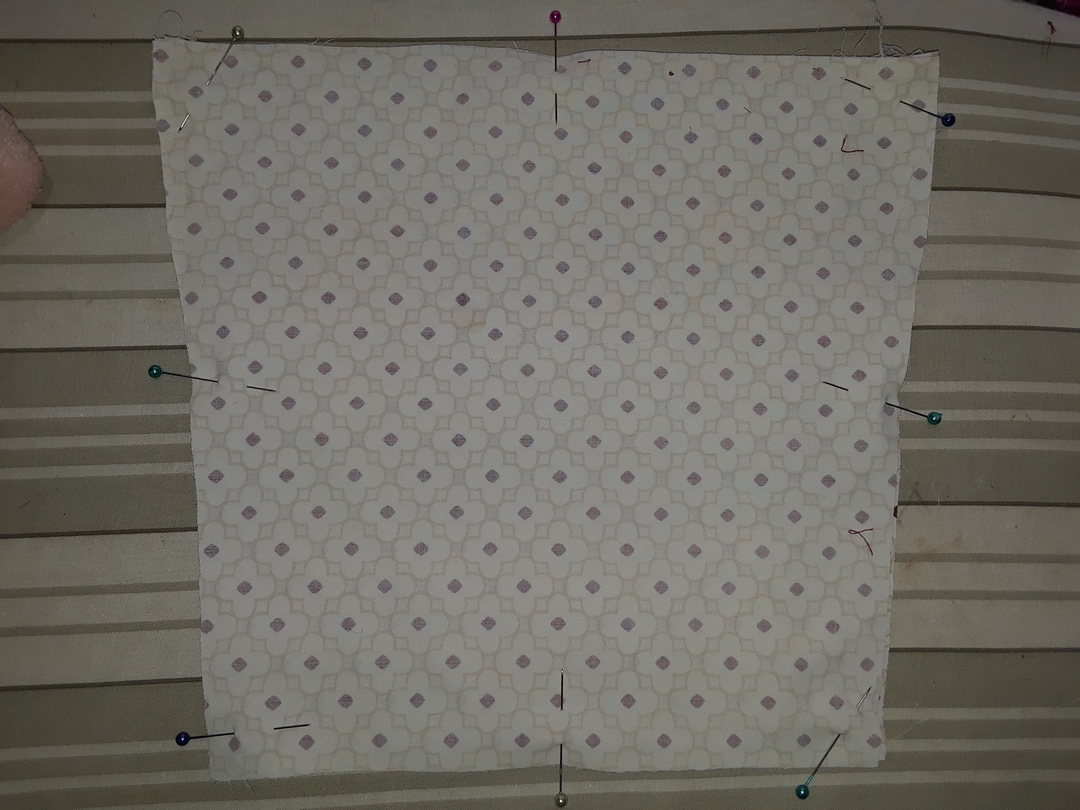
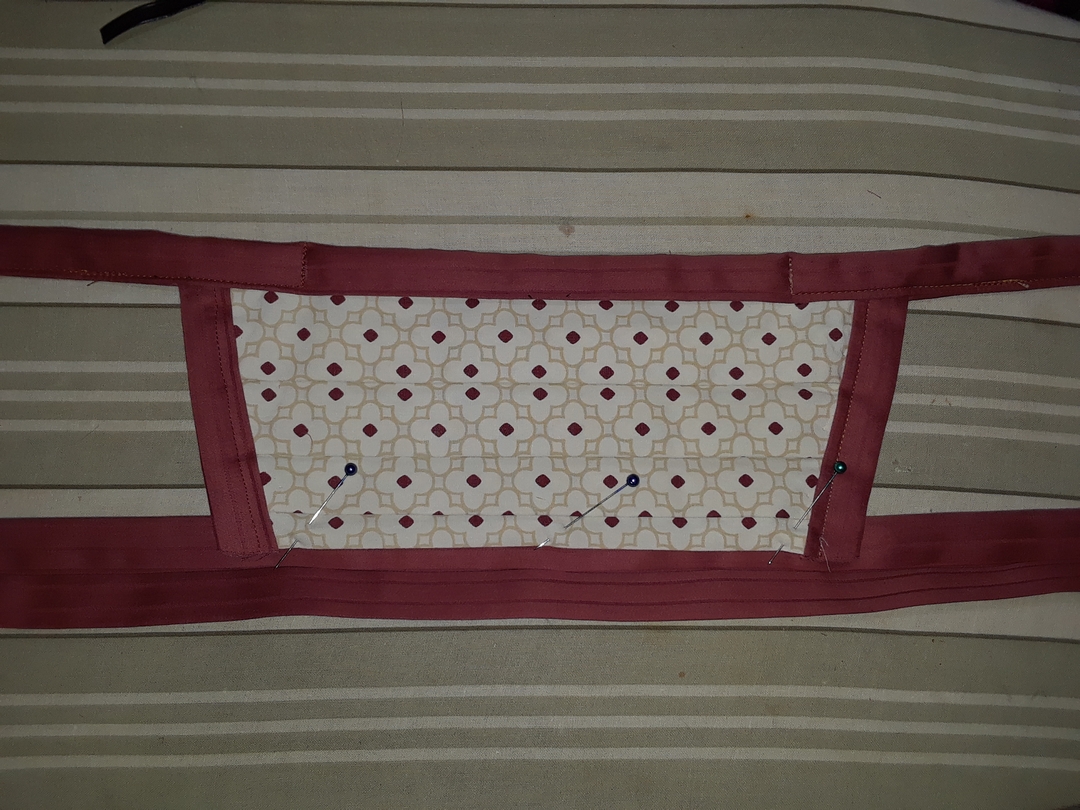
For the center piece, place two layers, pattern side in, on top of one another and pin them together.
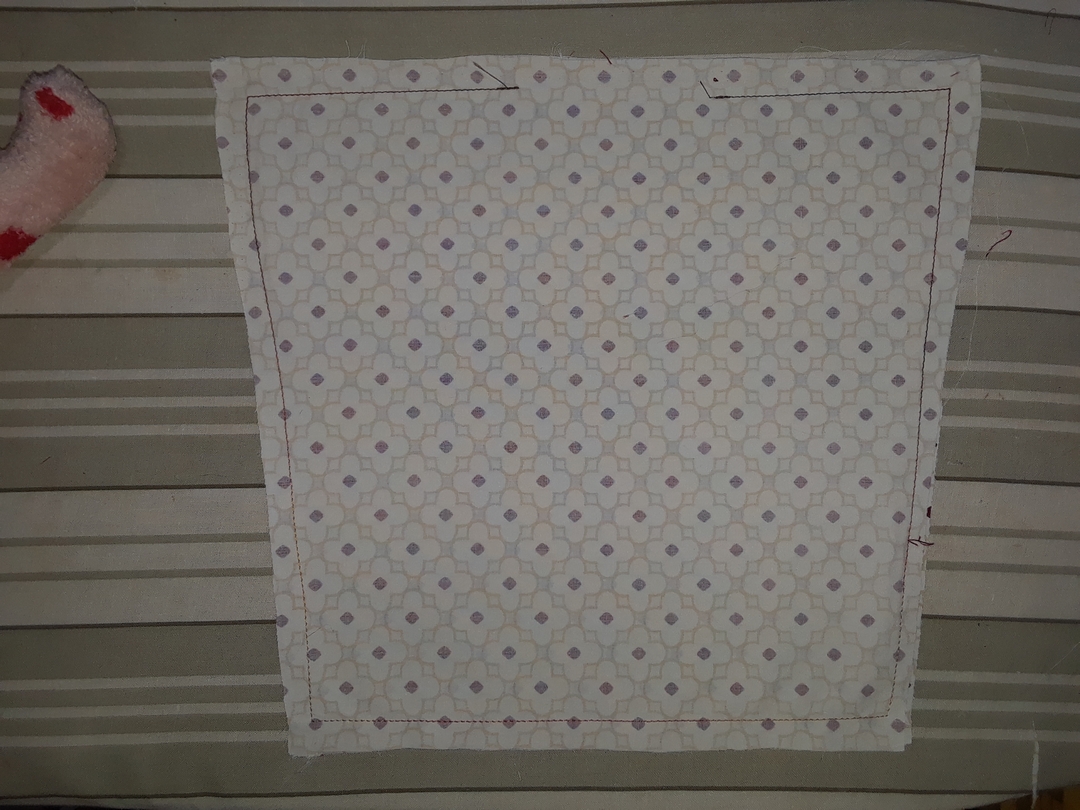
Sew the edges about 1/4" in, leaving about a 1.5" gap in the seam at the top of the mask.
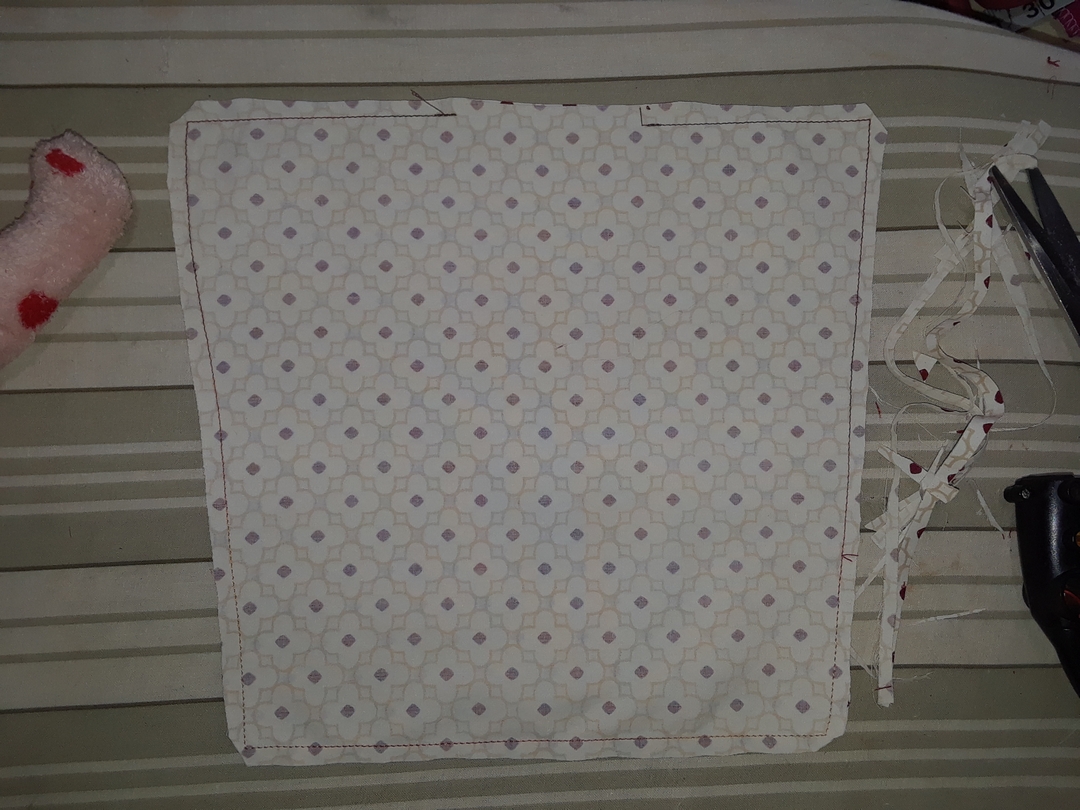
Trim the edges and corners down so they are less bulky.
Turn the pieces right-side in, using your smallest finger to poke the corners out as much as possible.
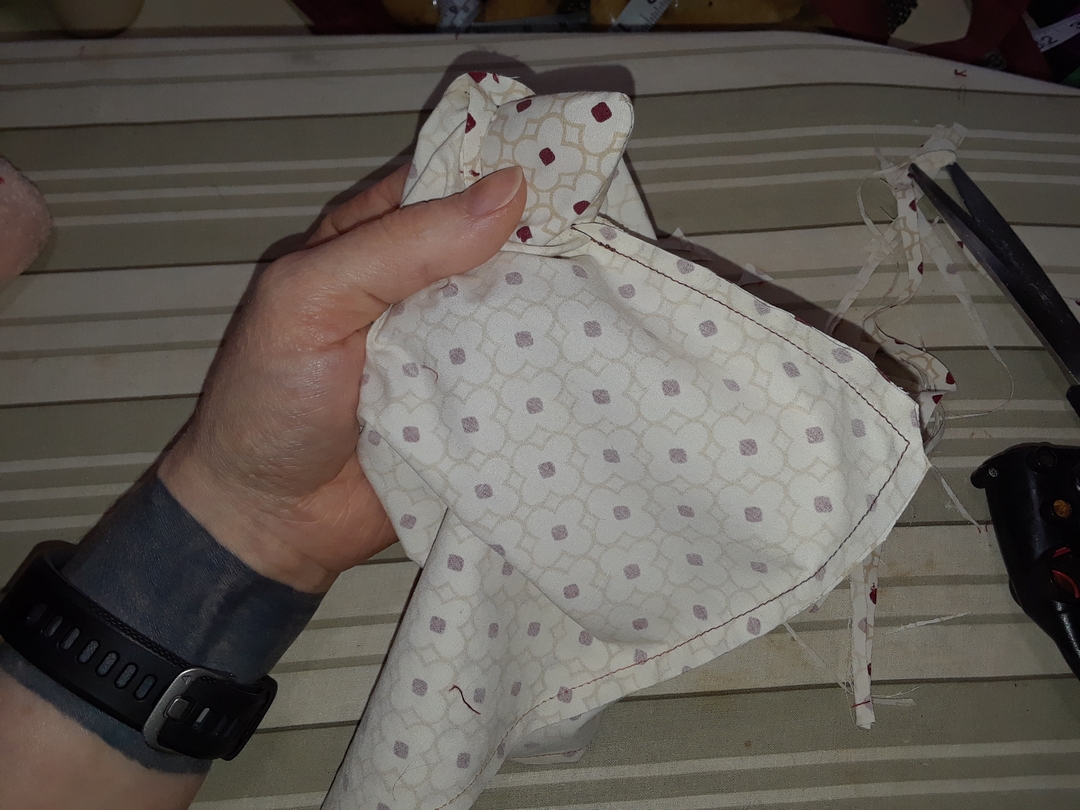
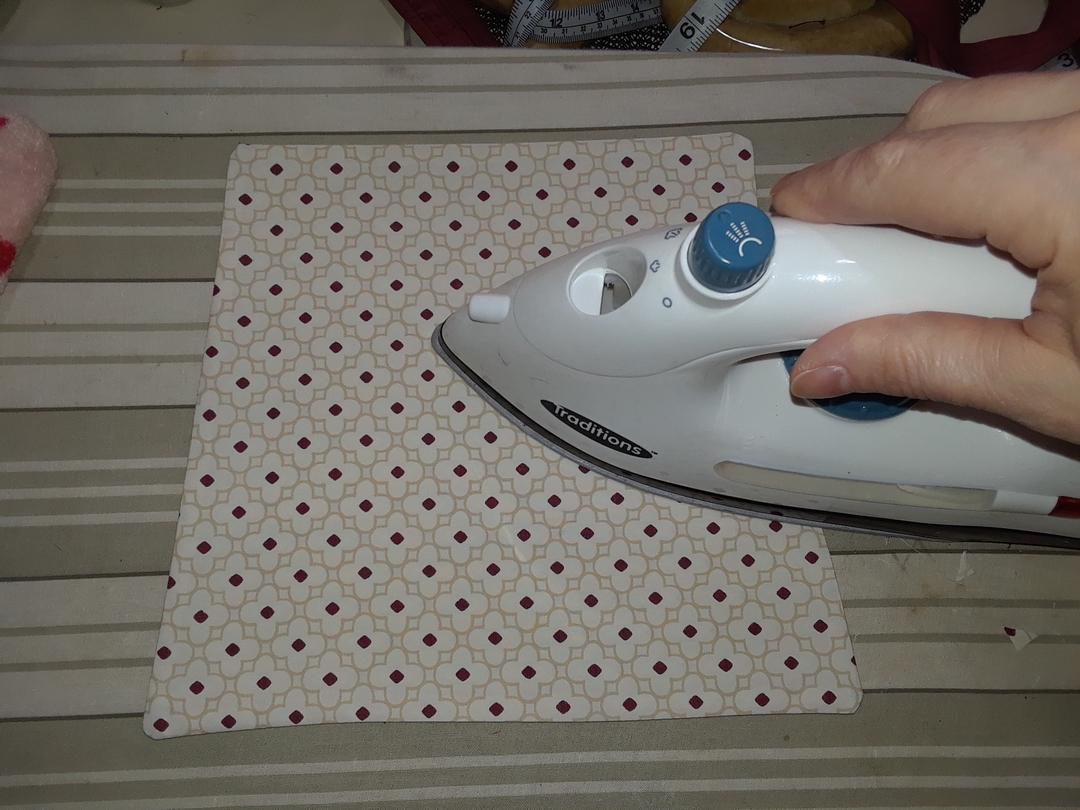
Press flat with an iron on the highest heat setting + steam.
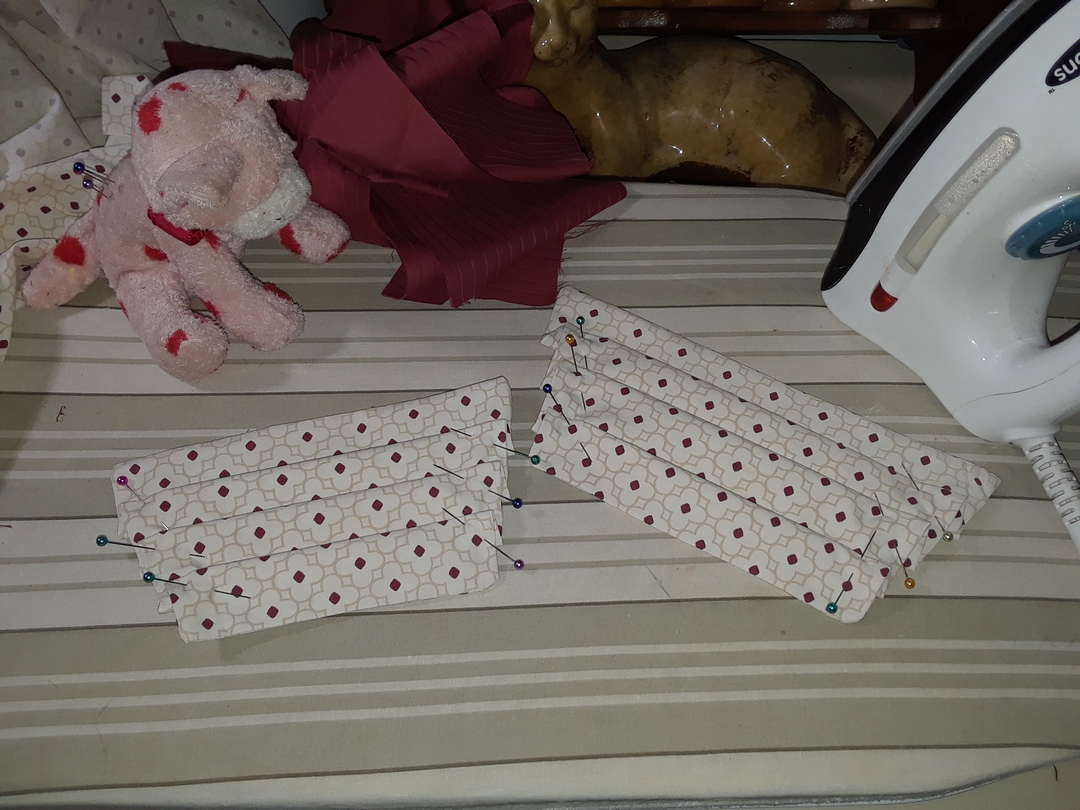
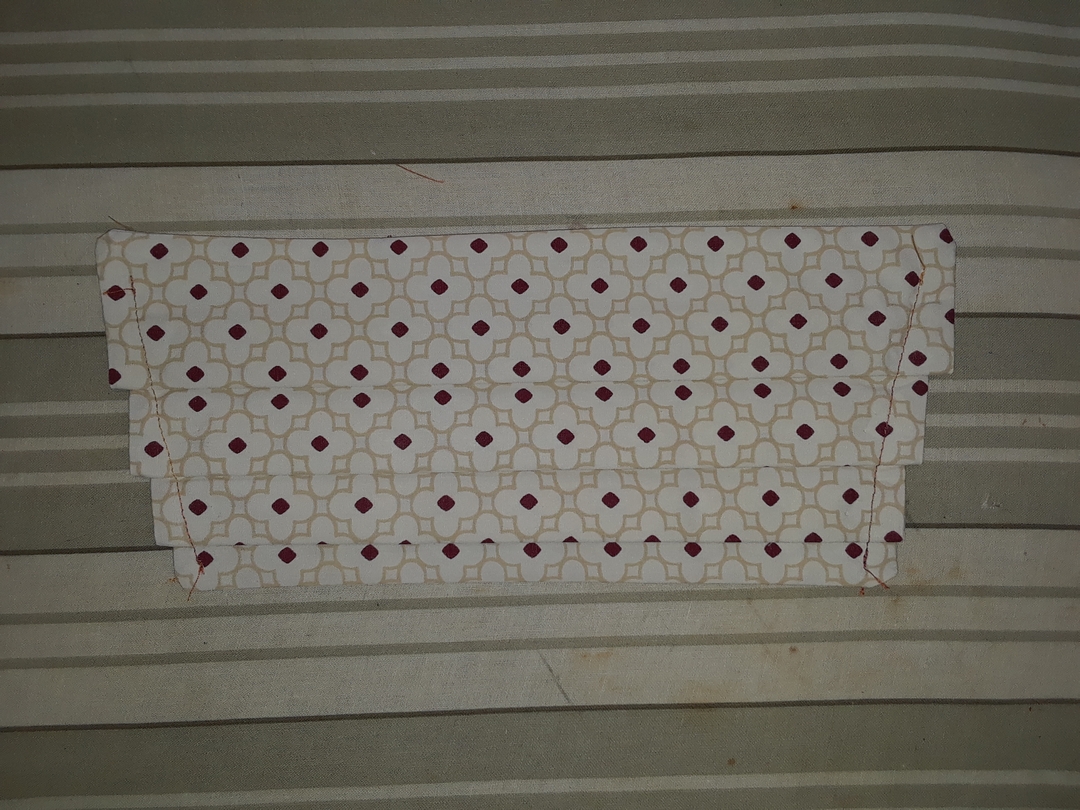
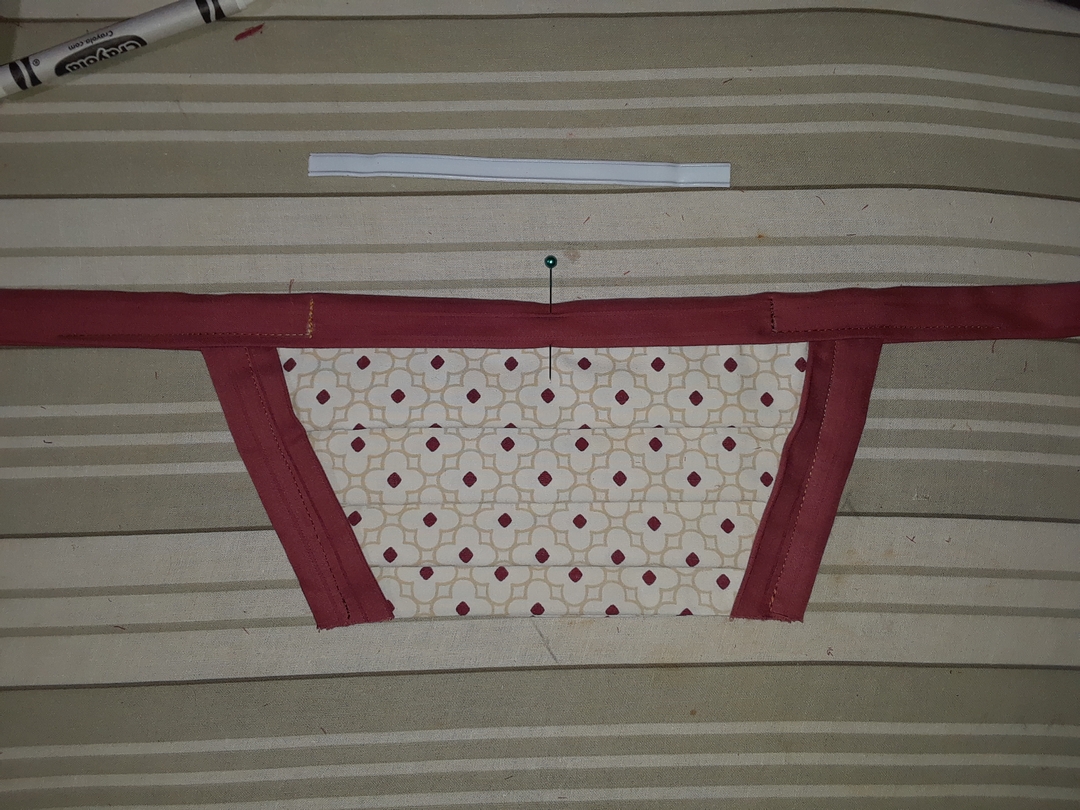
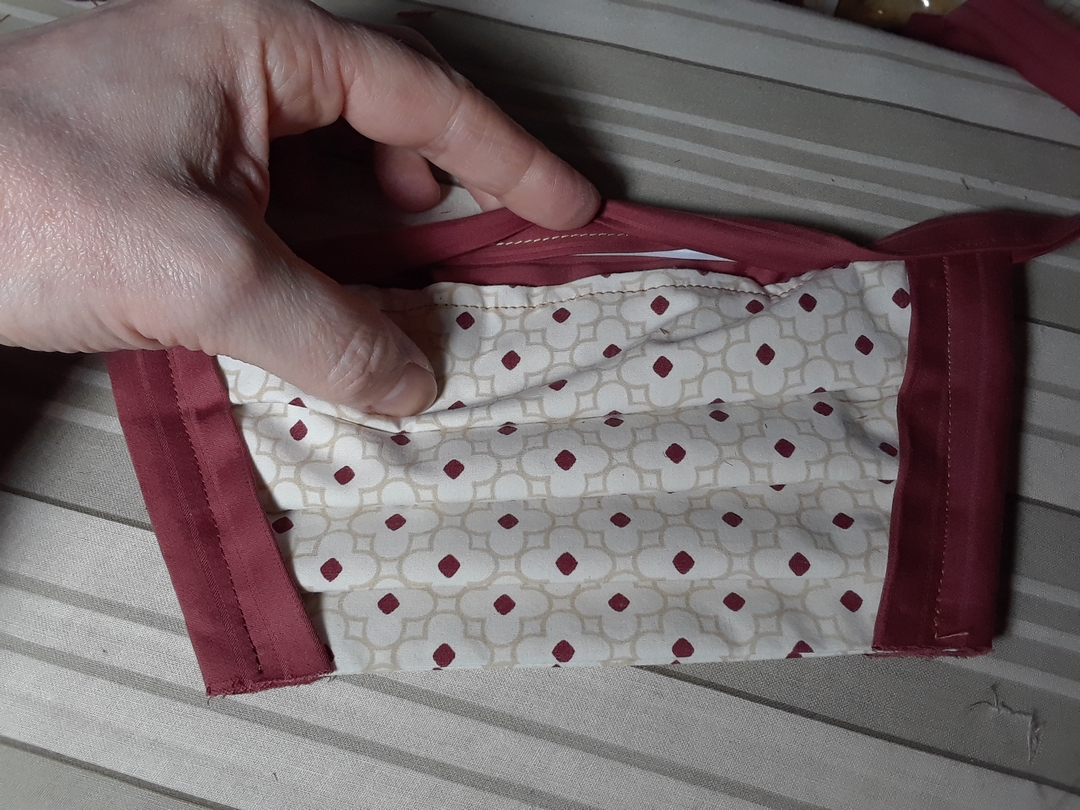
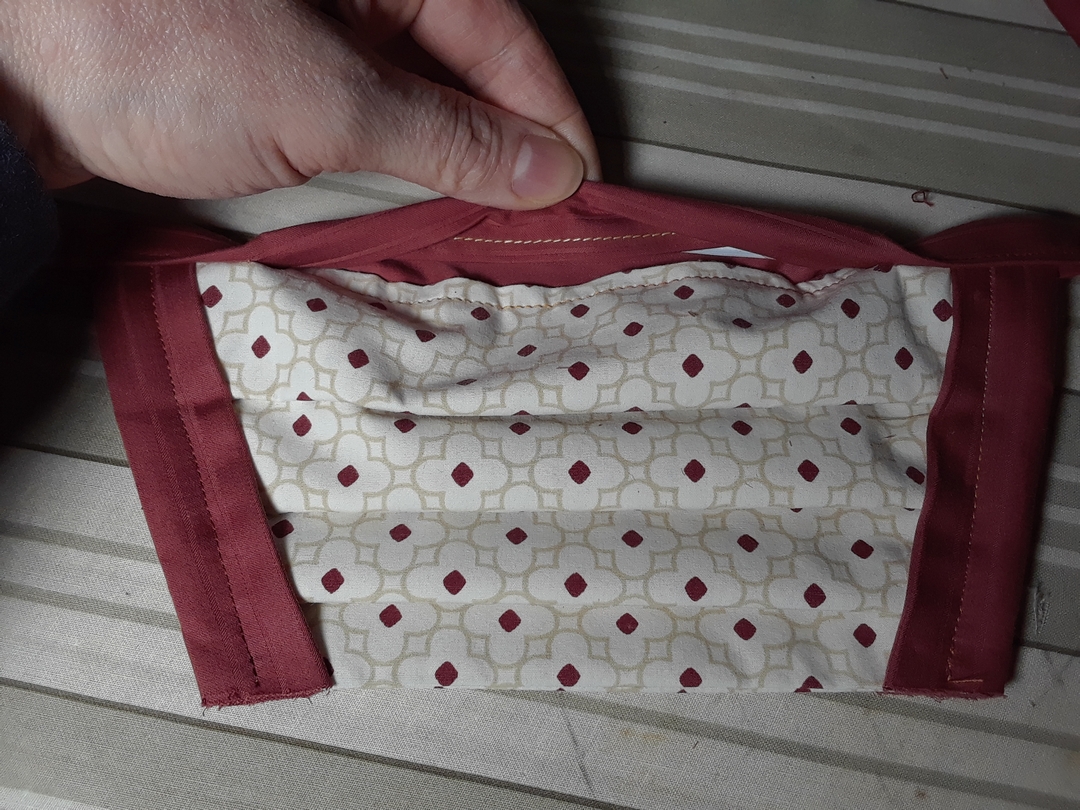
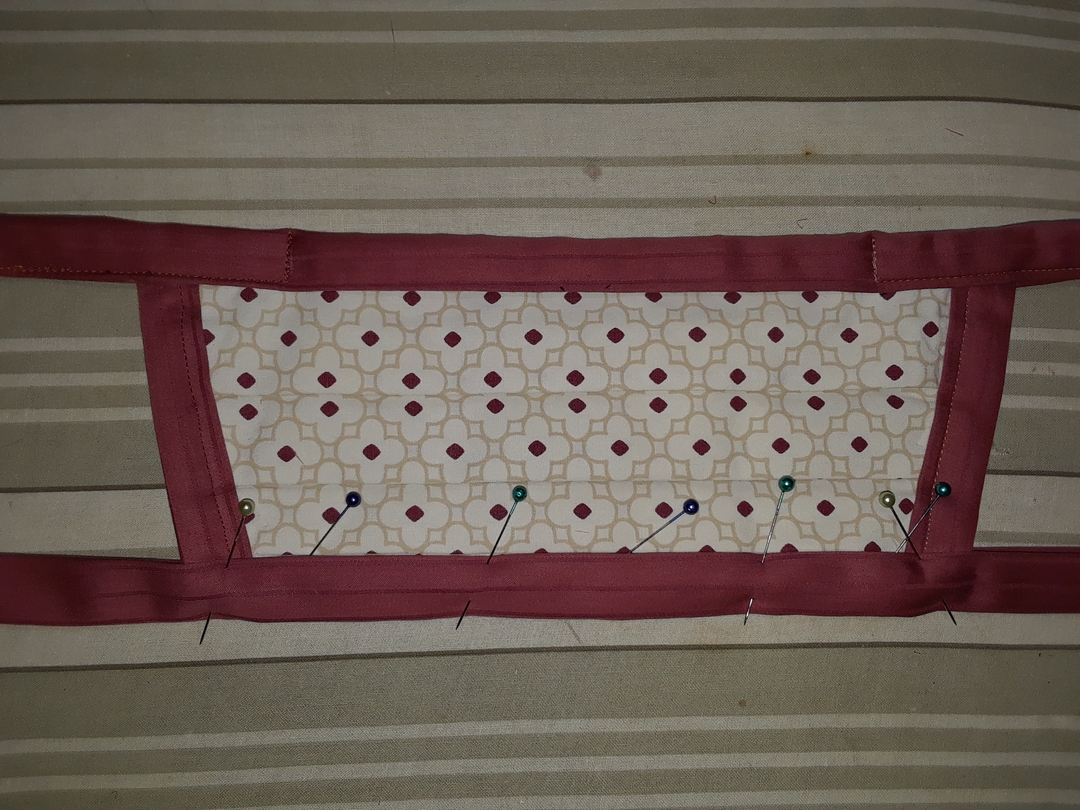
Fold three even pleats of about 1/2" wide in the center as shown, pinning them in place, then press flat with a hot iron.
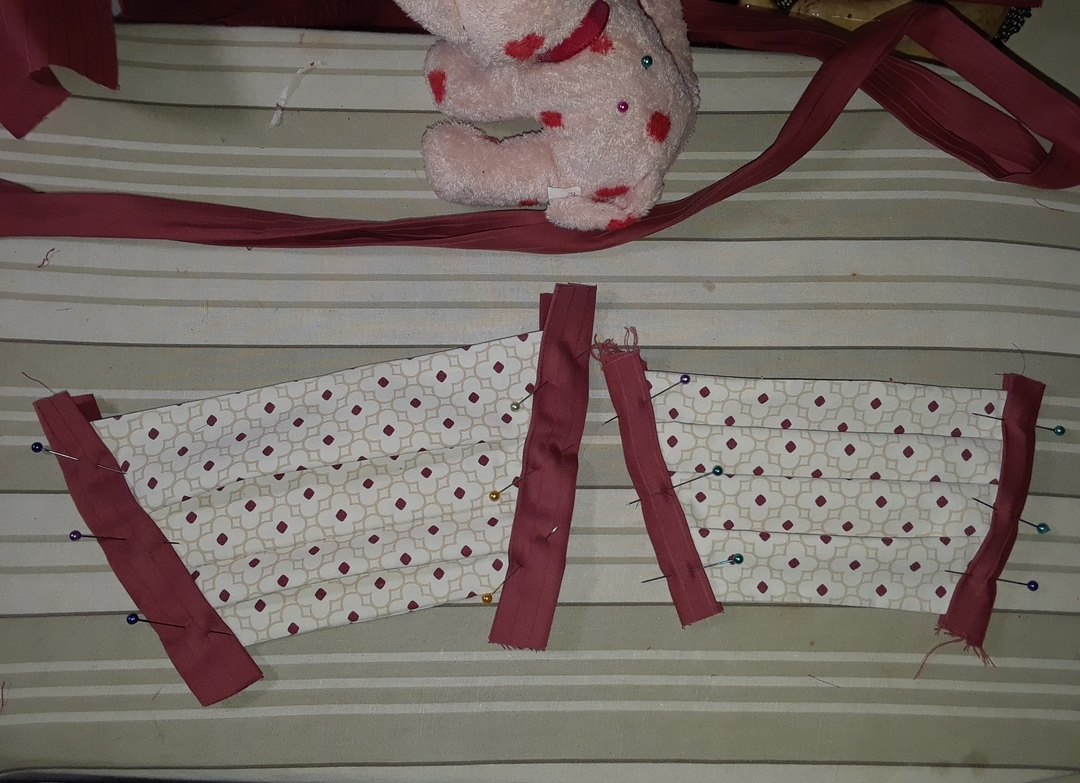
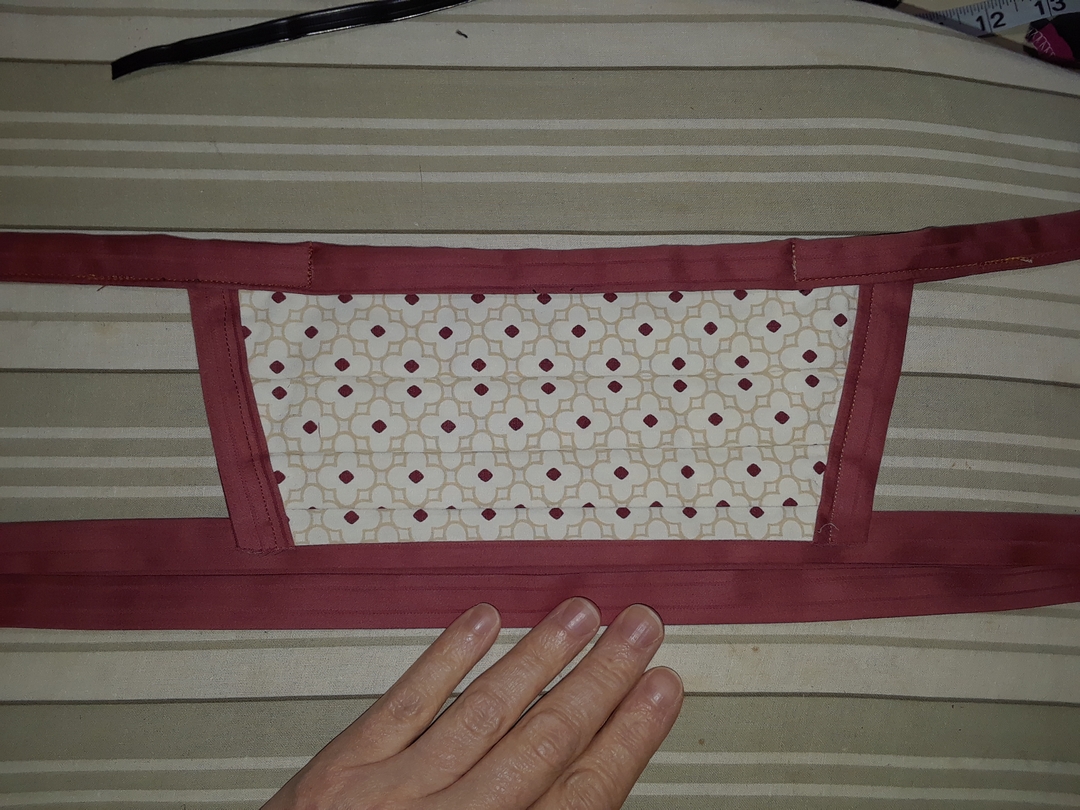
Cut two lengths of your bias tape and pin them to the edges of the mask as shown and sew down each side.
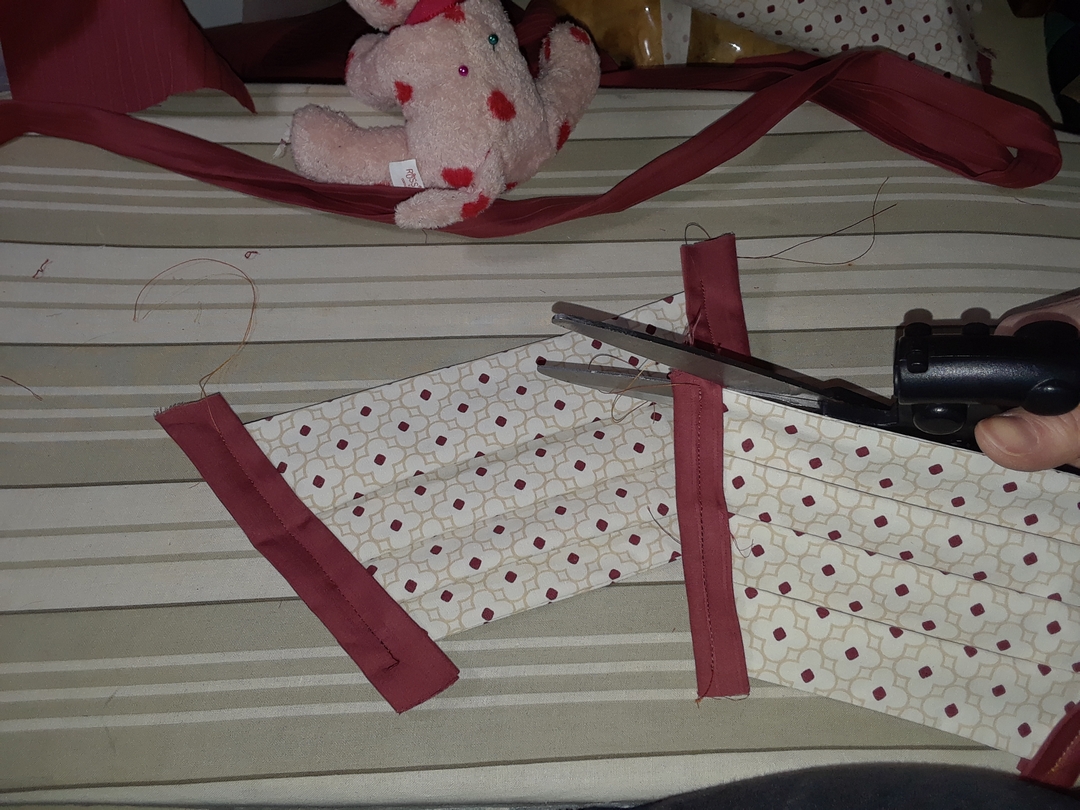
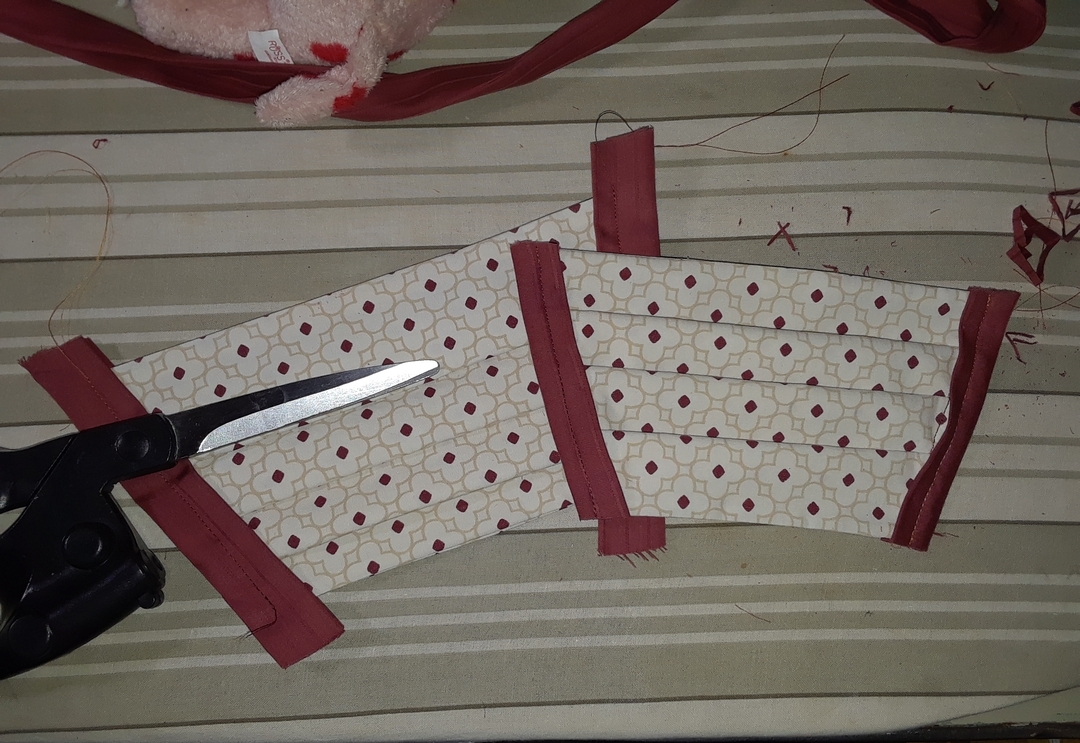
Trim the excess bias tape with scissors, being careful not to cut the mask.
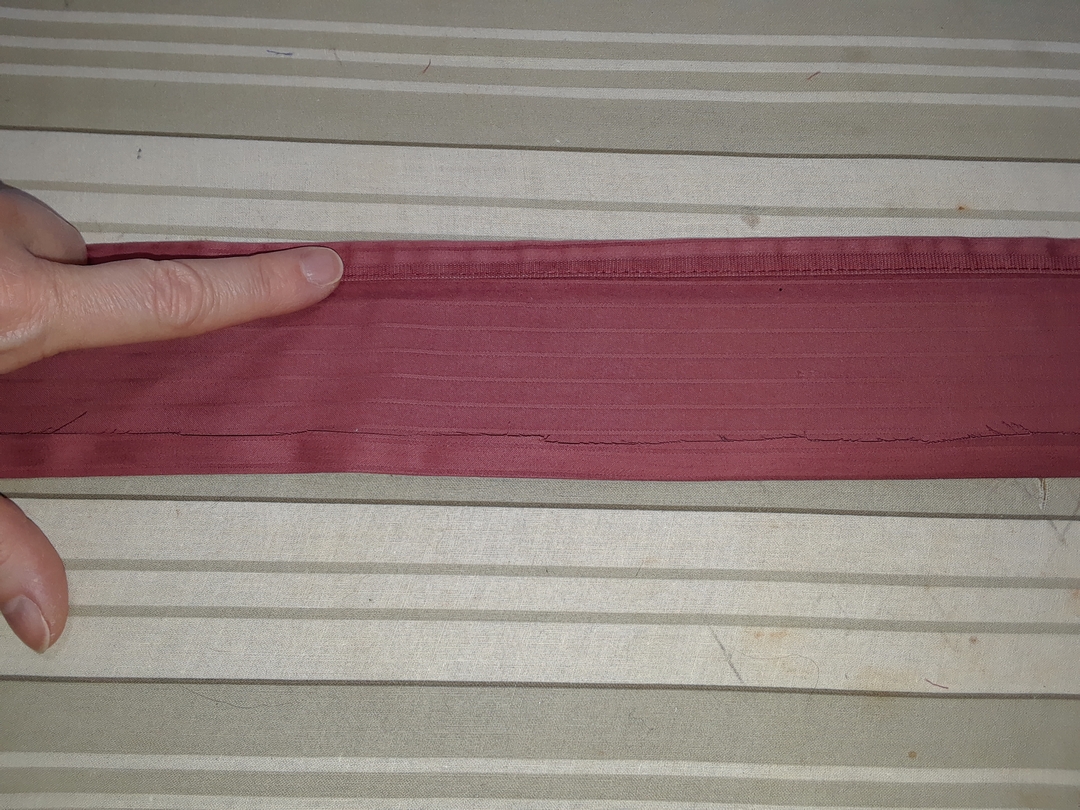
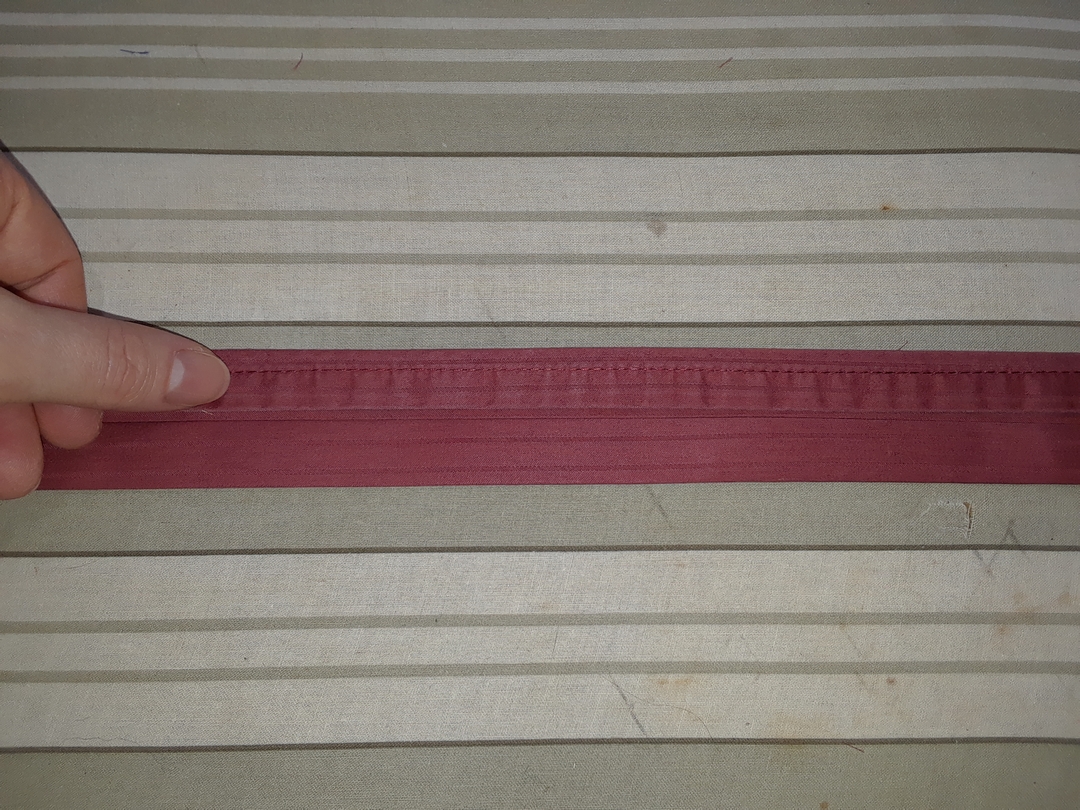
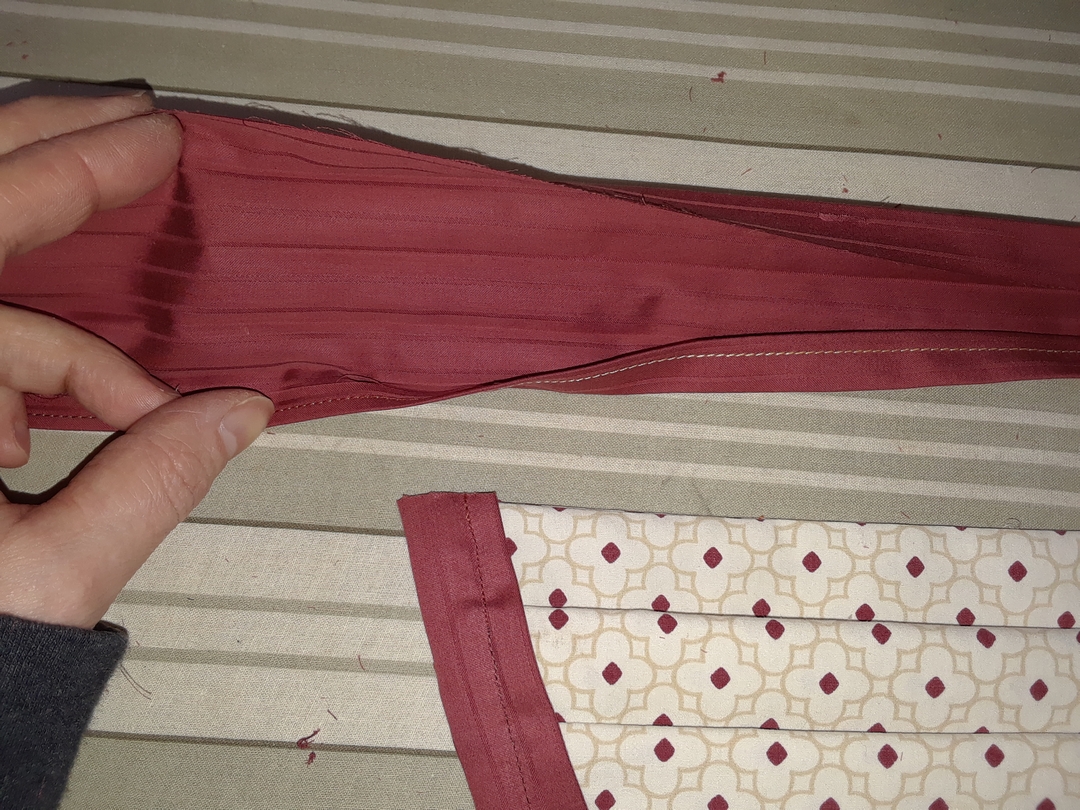
Your finished bias tape (if you make your own) should look like this. Only one side of the top tie needs to be hemmed (sewn) as shown. This is the inside/back top of the mask.
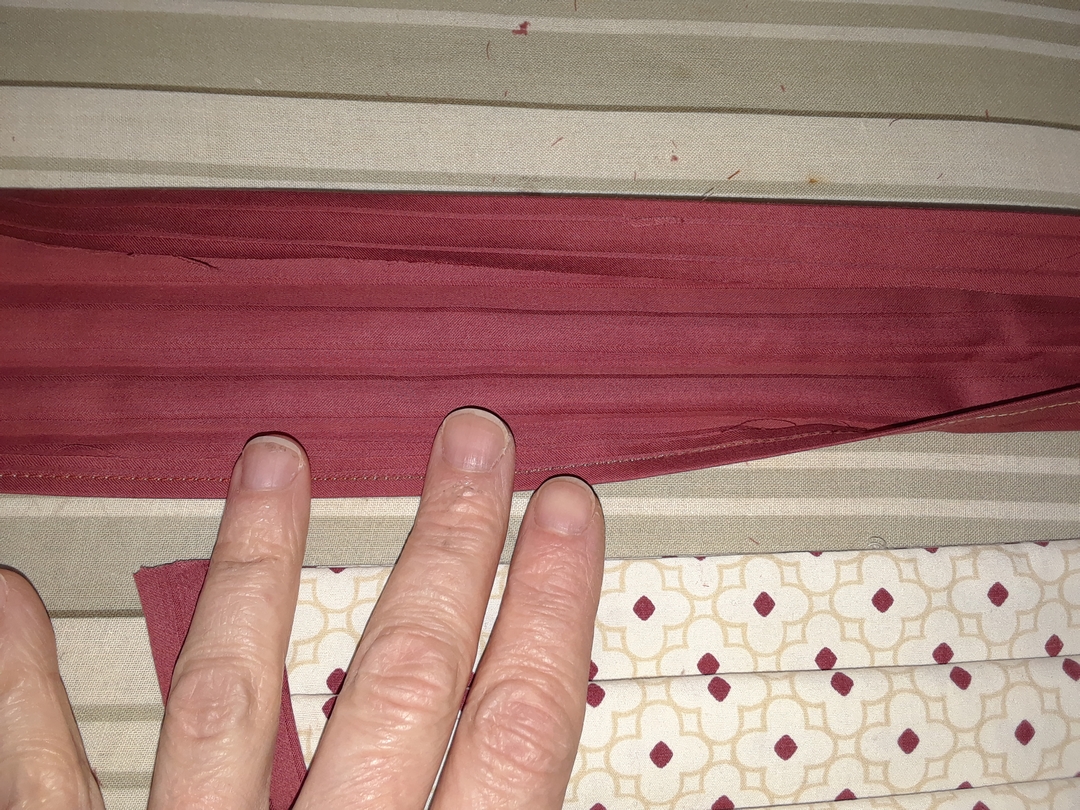
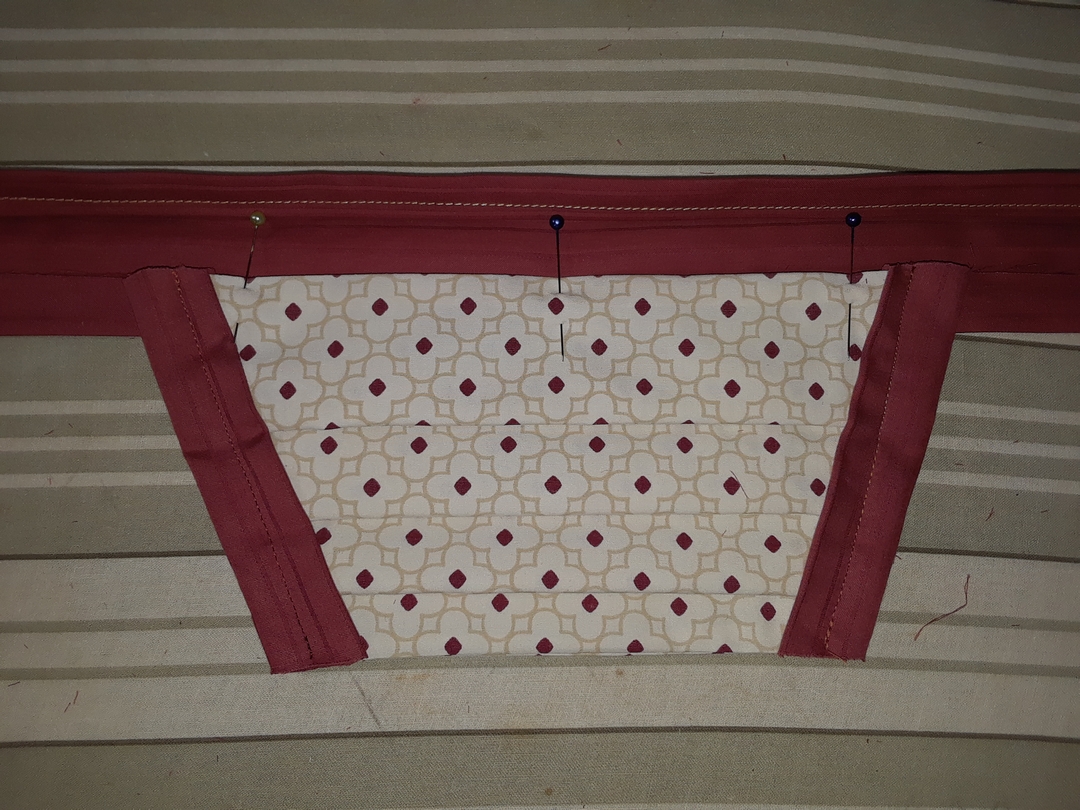
Orient your face mask and bias tape as shown with the outside/front facing out and the bias tape with the hemmed side up. The front of the mask has a wider top fold, and your bias tape should have the sewn edge at the top.
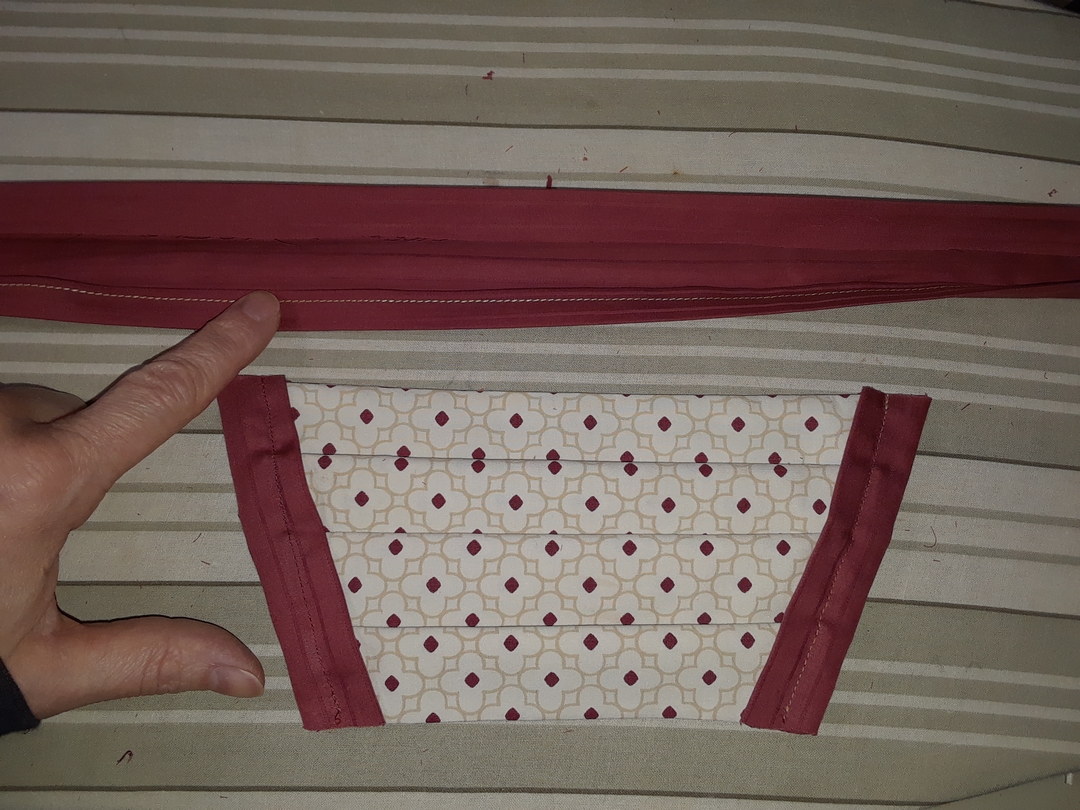
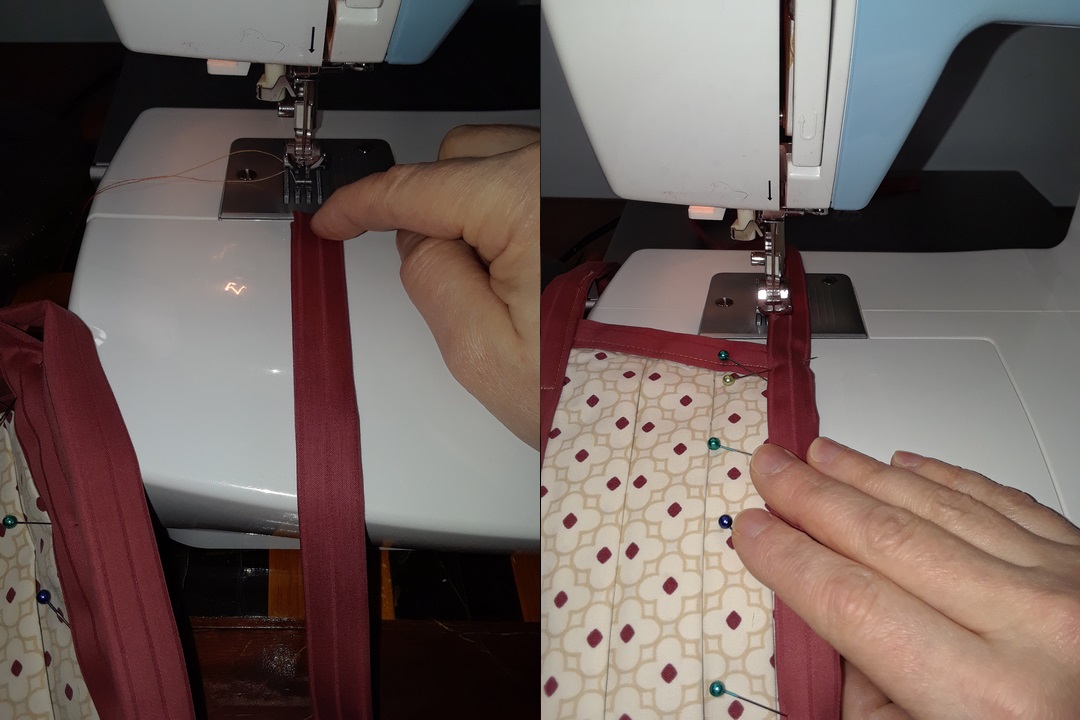
Place the mask across the center of the bias tape as shown and pin in place.
Sew the mask piece onto the bias tape as shown.
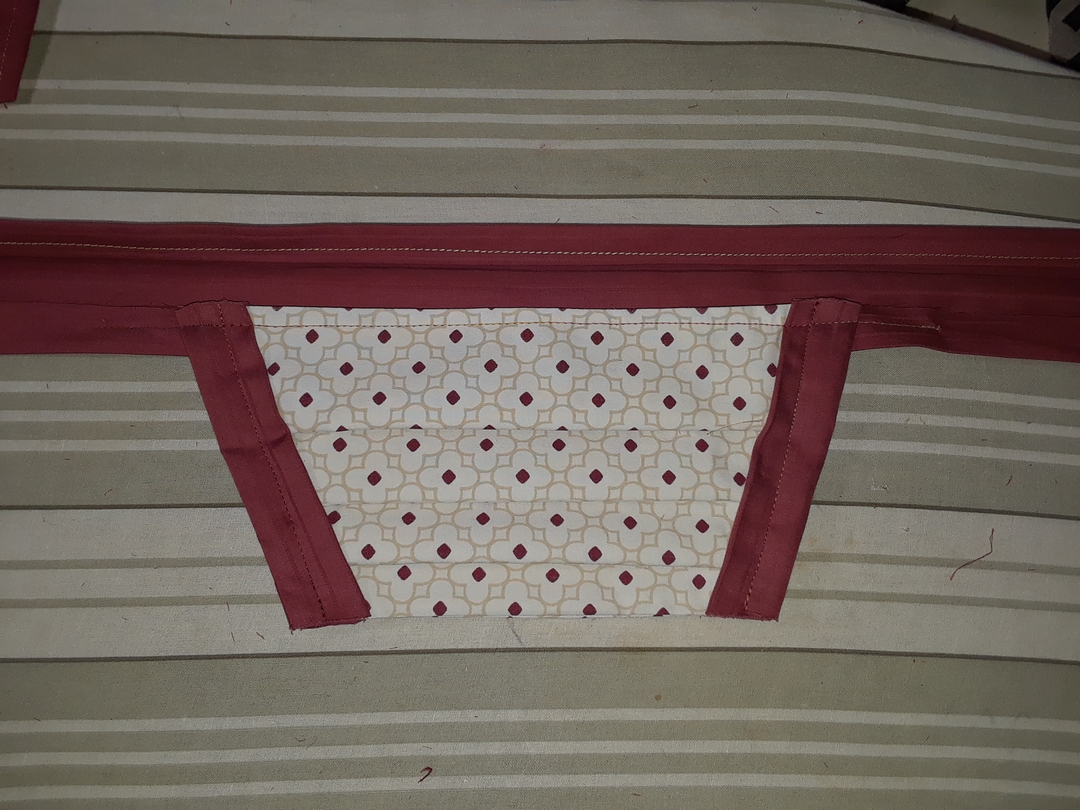
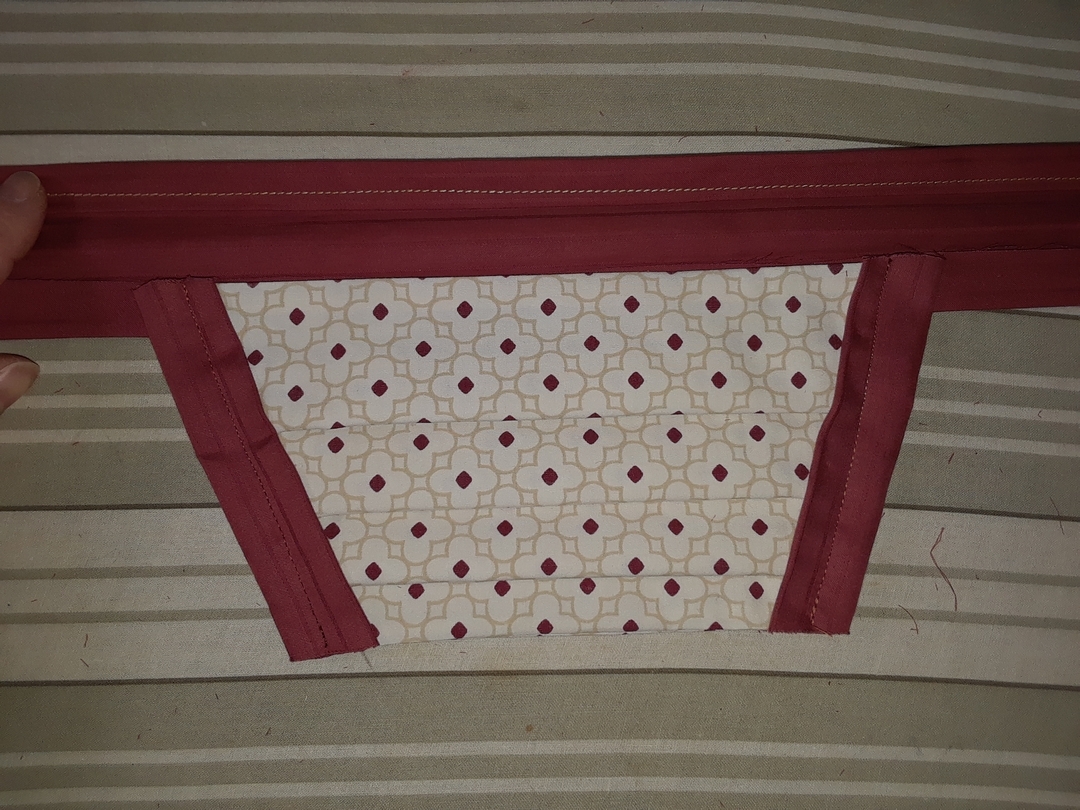
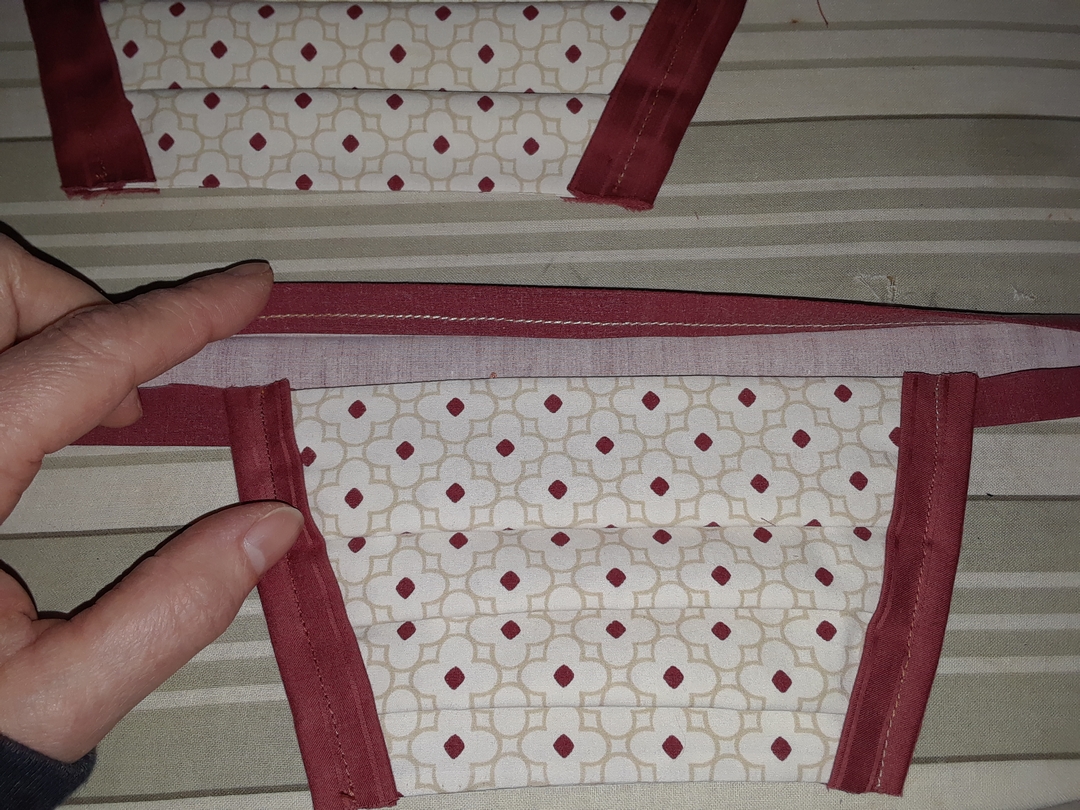
Fold the top edge of your bias tape over, folding the sewn edge inside.

Fold the bias tape down again so that the front of the bias tape covers the front top edge of the mask. Pin the bias tape in place.

The metal support to shape the mask around the nose to prevent eye glasses from fogging up is the wide coated wire used to close a bag of coffee. Using a crayon, draw a mark about 1/4" away from the outside edge of your centered coffee tie on the mask.
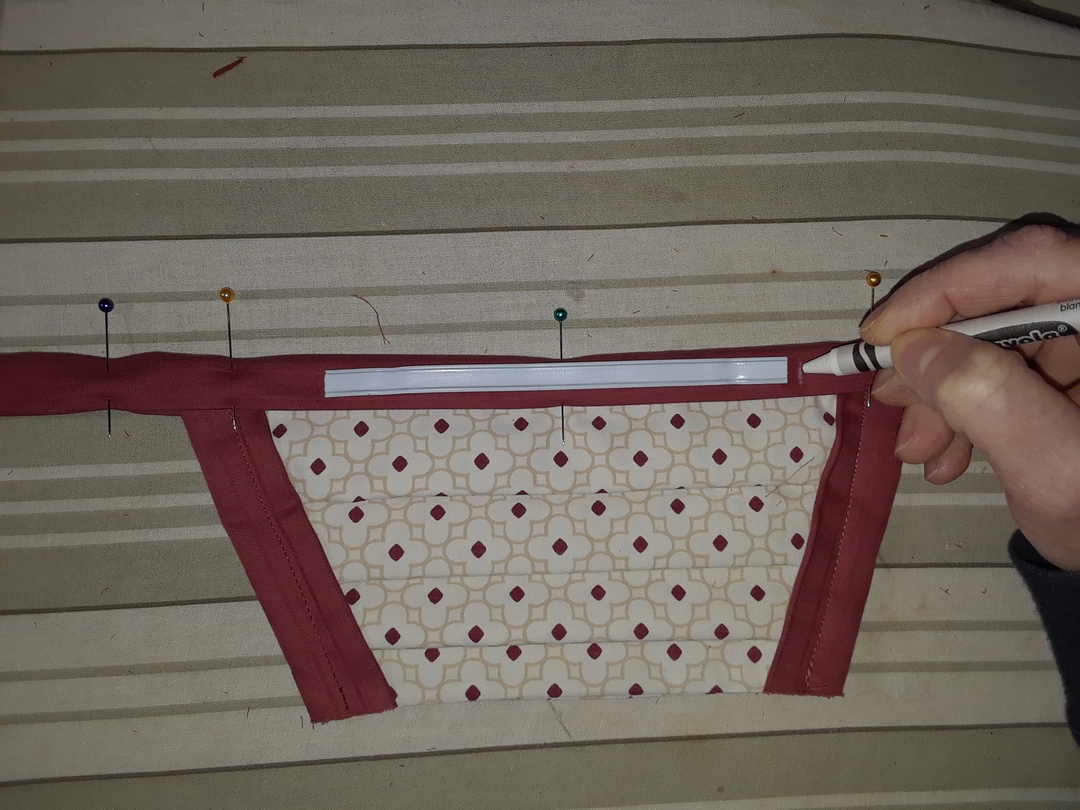
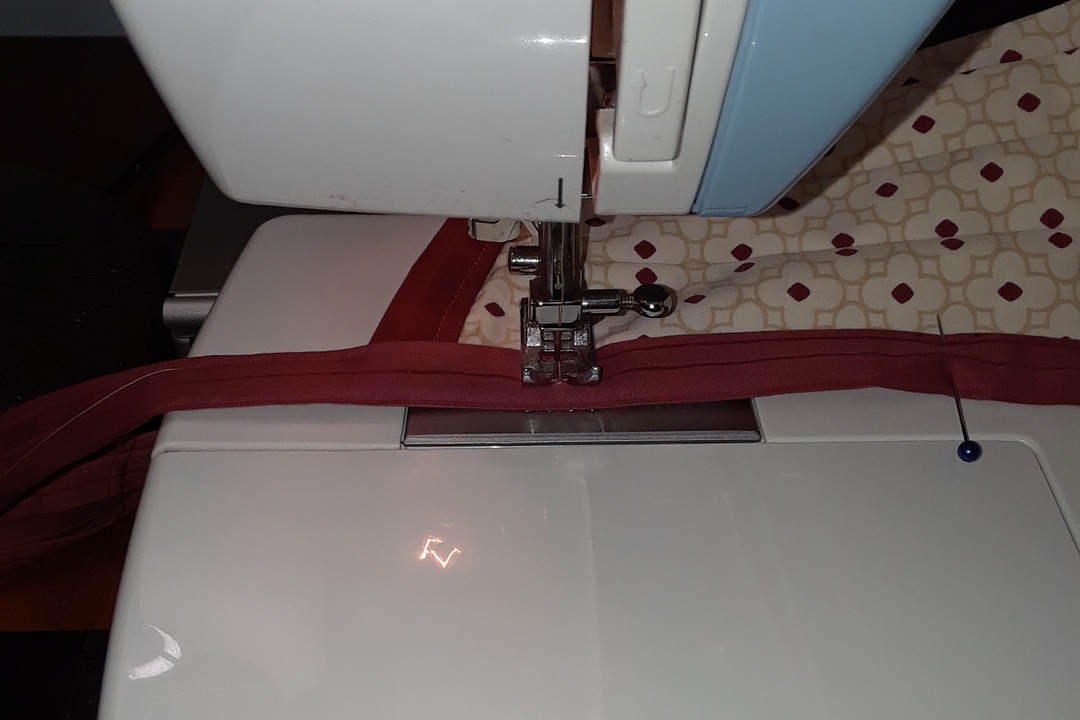
Starting about 1-2" down the tie working in towards the mask, sew your hem into your tie and through the mask to the crayon mark, then turn your fabric 90 degrees, and sew along your mark, going back and forth 3 times. Repeat on the other side.

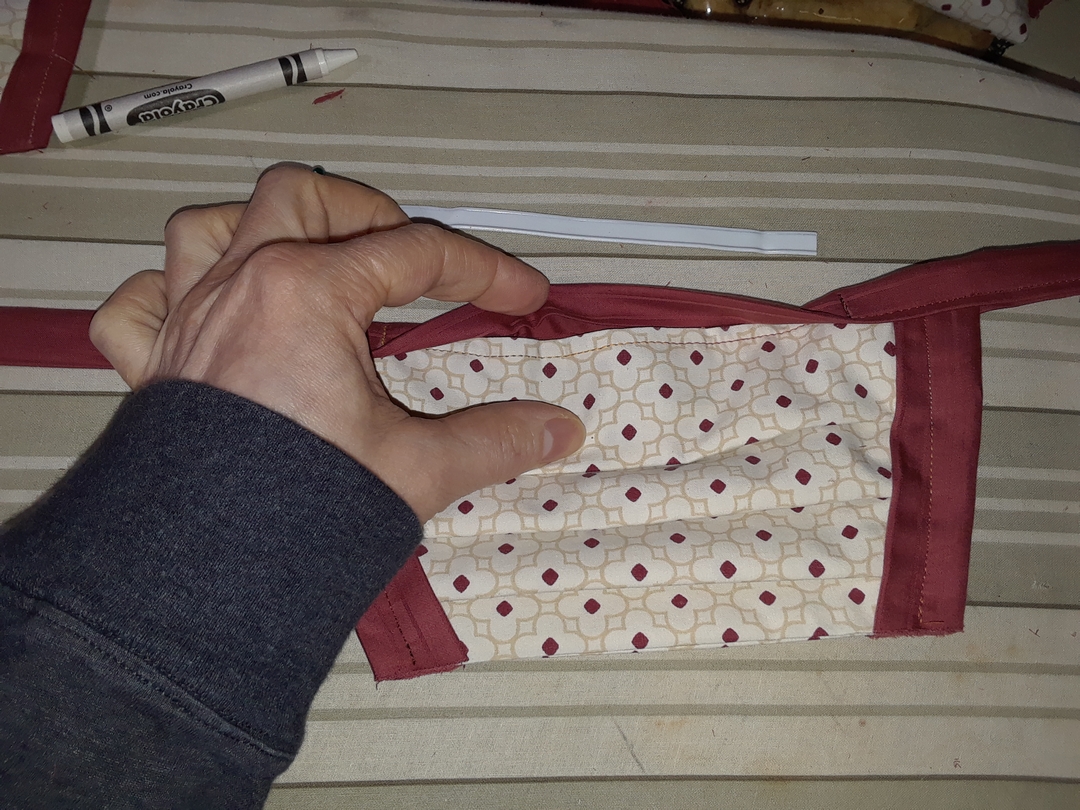
This is how it should look after being sewn on both sides.
This is how the inside of the coffee tie pocket looks after being sewn.
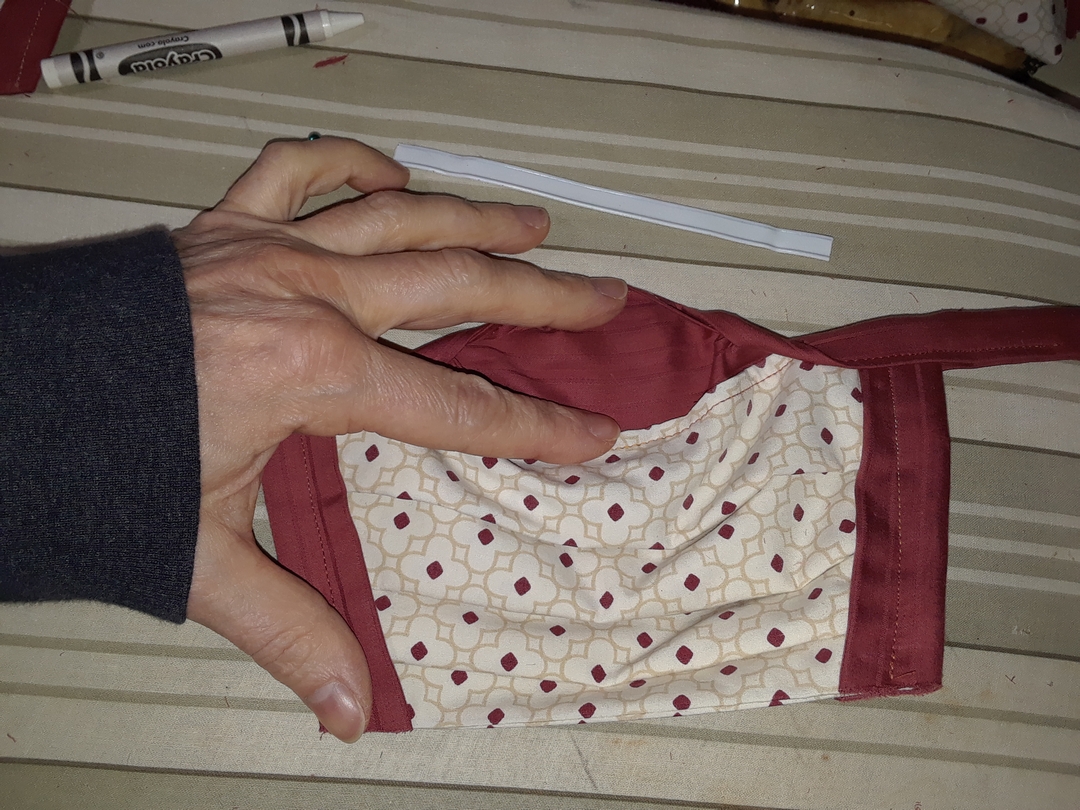
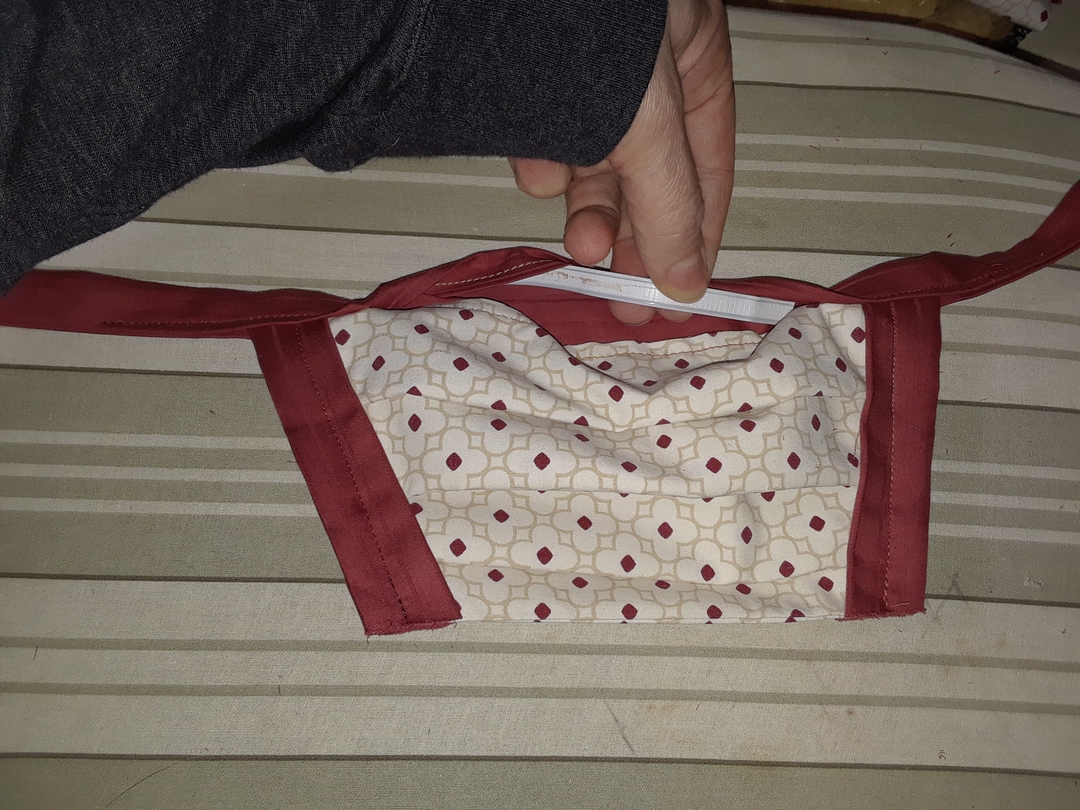
Insert your coffee tie into the pocket as shown. You may have to bend it in the center and get the ends in first, then straighten it once in place. Some wiggling/adjustment will be required to get it in there perfectly. The ability to remove the strip makes the mask washable and extends the life of the mask and tie. I do not recommend sewing the tie permanently in place in the mask as the wires can push through or tear the fabric when washed and can rust inside the mask. The strip should be sanitized every time it is removed/replaced.
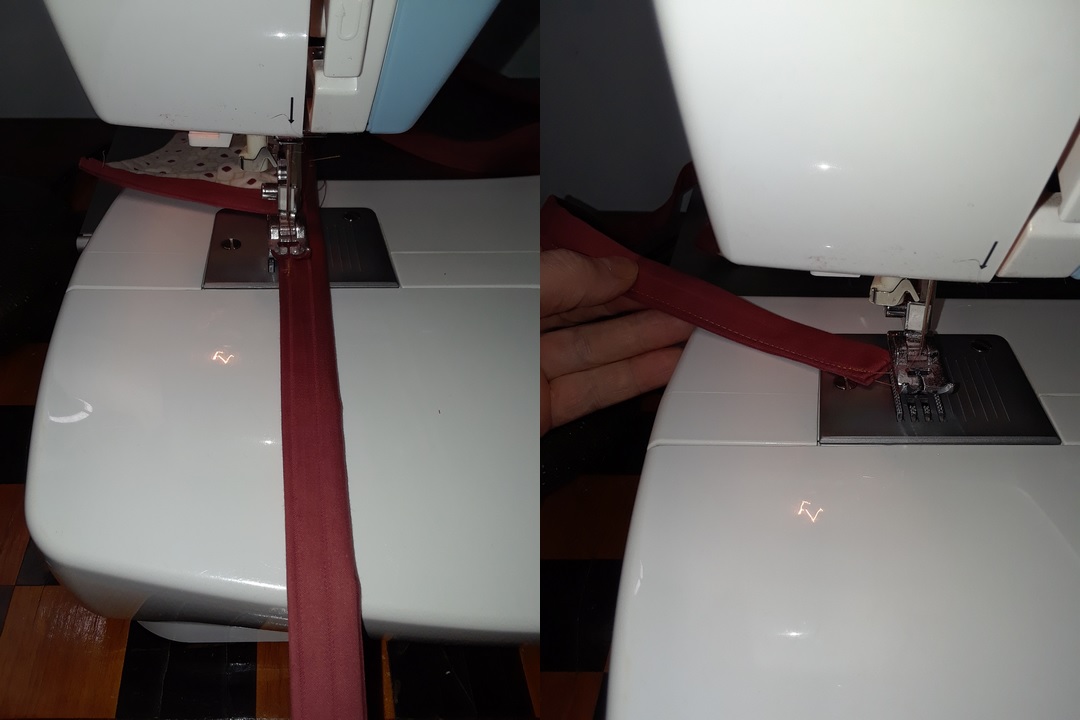
Starting at each edge of the mask, sew away from the mask along the entire length of the top tie to the end to hem it. Repeat on the other side. You can tuck in the ends or leave them unfinished and tie a knot in the end instead (if you plan to tie the ends off instead of hemming, be sure your ties are long enough).
Place the bottom tie in place as shown.
Pin in place.
Fold the bottom tie over as shown and pin in place.
Sew the entire length of the bottom tie to attach it to the mask and hem the edge.
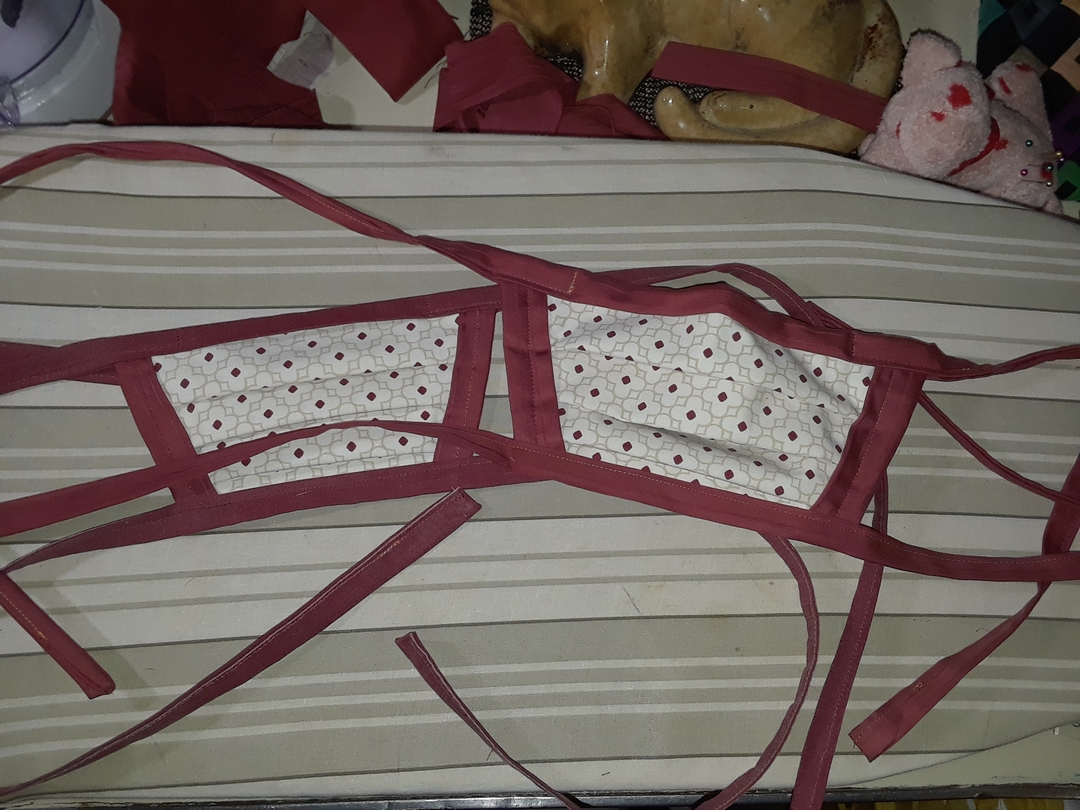
This is what the finished masks look like.
I am sewing these masks for my community in Springfield Vermont. These are masks intended for private citizens, not just healthcare or essential workers. We should ALL be wearing these masks when we go into stores. My goal is to get everyone in Springfield and the surrounding communities in masks! Donations for the purchase of fabric, or donations of CLEAN, freshly washed, non-stretch cotton fabric (bed sheets and pillowcases are ideal) or bias tape may be sent via PayPal to Phaewryn@gmail.com or to the mailing address below:
Jules O'Guin29 Orchard St.
Springfield, VT. 05156
I am not currently sewing masks for profit/public sale or in bulk for organizations/businesses. Others in my area are covering those needs. If you live in Springfield/Chester/Bellows Falls and need masks but cannot donate a pillowcase, shirt, sheet, or a few bucks, reach out to me, I may have extra fabric periodically.